So … I was in a bad mood one day and I was staring at how ugly the space I was living in was … (Ugly is a little dramatic, but in the moment that’s all I could think) SO, I stayed up all night watching videos and doing research, and then the next morning (after about 2 hours of sleep) I went and bought all the stuff I needed to start renovating our basement apartment on a budget! Luckily, this is just a kitchenette in the basement so I could experiment a little bit … but I still wanted to get it right! That being said … I definitely would do a few things differently looking back! I made a few mistakes but that’s ok because now you don’t have to!
Here are the step by step instructions on how I did it, and what I would have done differently …
STEp 1: Start with a clean surface
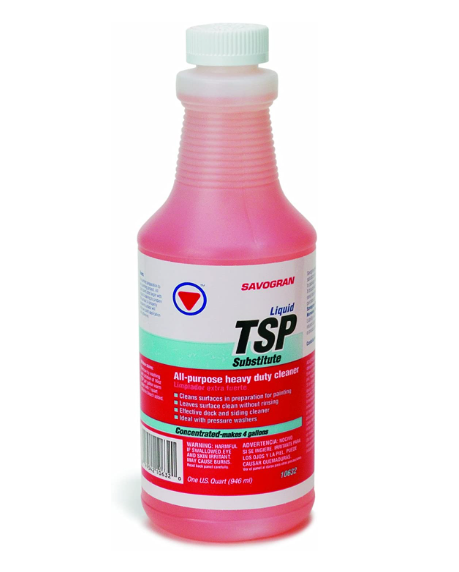
Get in deep! This may seem like an obvious step, but it can make or break your end result! Start with a basic wipe down and then go in with a pre-paint cleaner! Here is the one I used:
Liquid TSP Substitute Cleaner
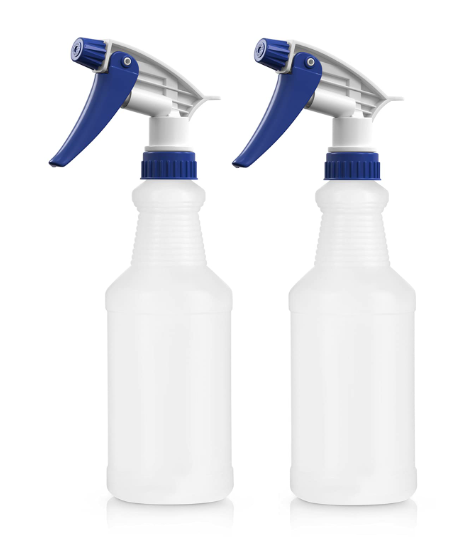
Liquid TSP Substitute Cleaner (Follow directions to dilute it properly in a separate sprayer
Click to view on Amazon
Click to view on Amazon
Spray Bottles for Diluted TSP
Make sure to LABEL the bottles!!
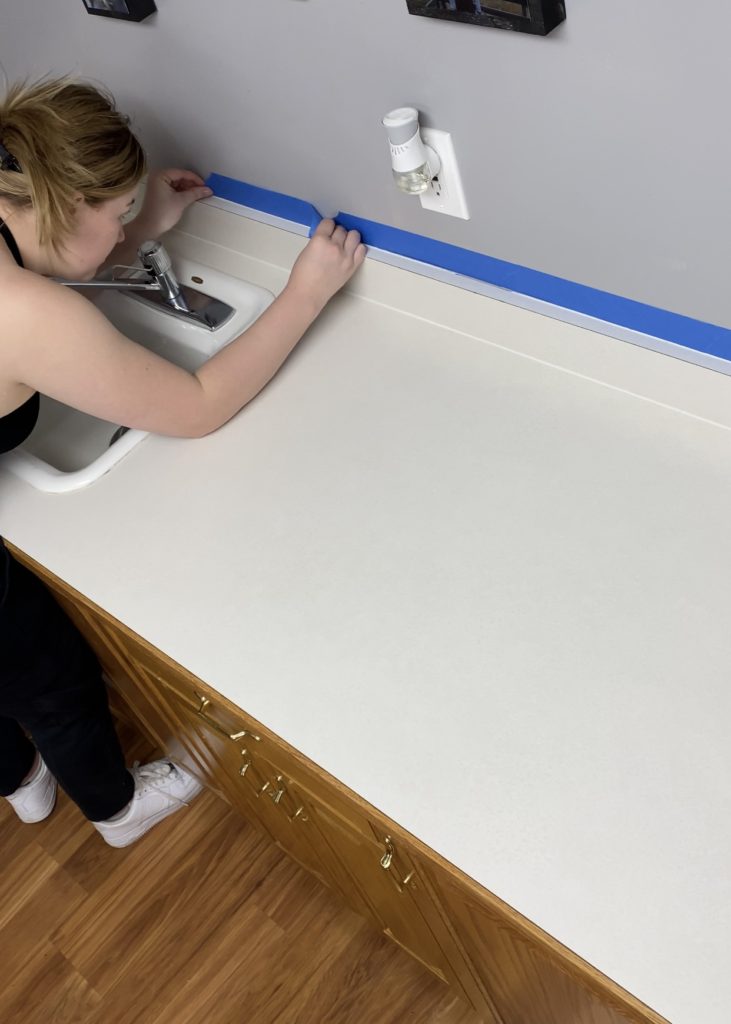
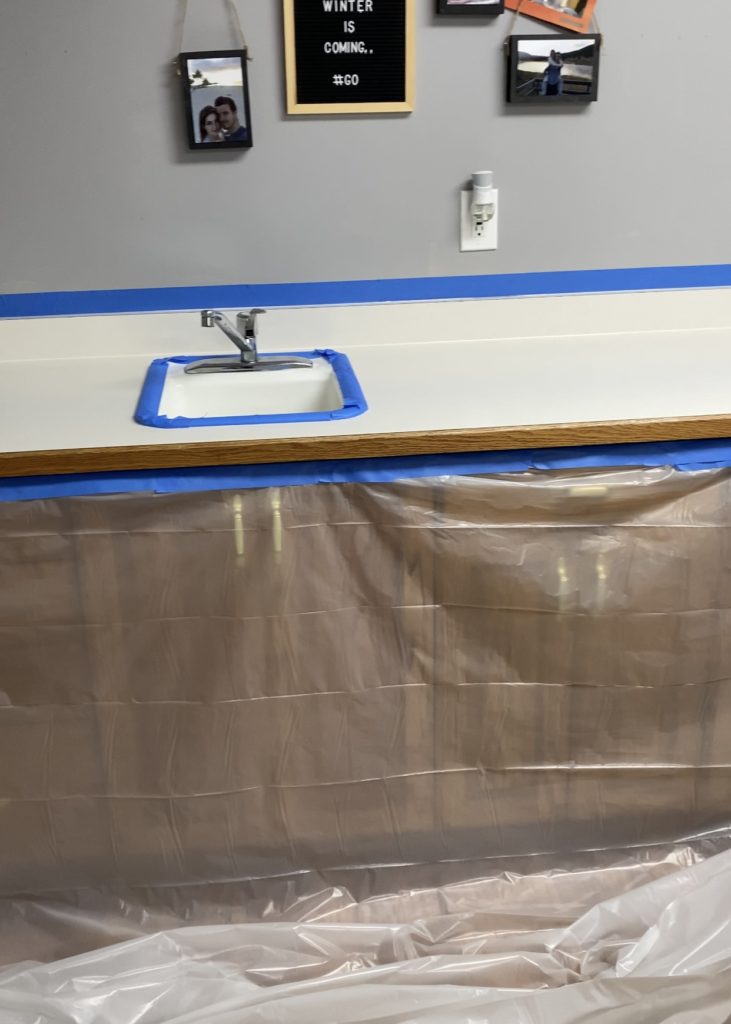
Step 2: Tape off Area, & protect with Plastic
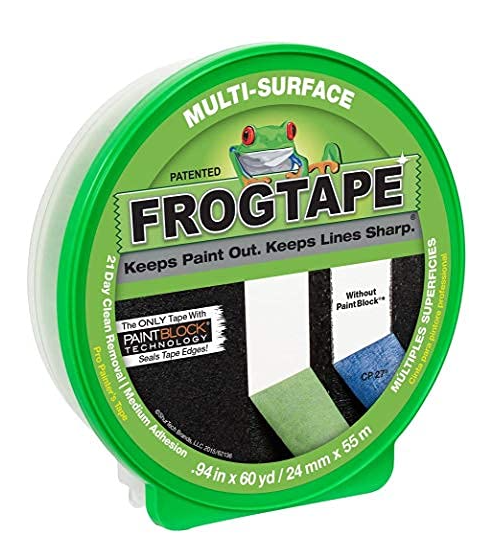
Now … this was my first big DIY project! Looking back, I would recommend getting a better quality tape. The blue painters tape still works if that’s all that fits in the budget, but if you can … go for Frog Tape.
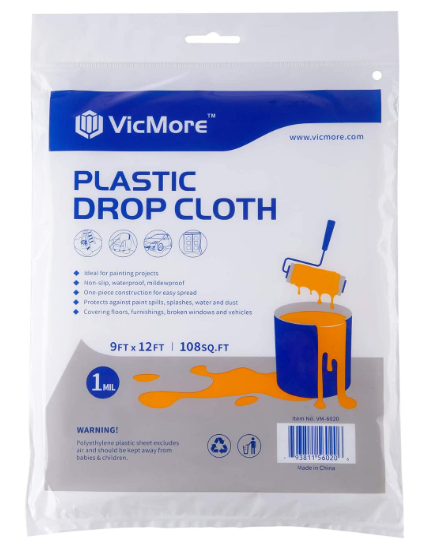
Whatever you do, do NOT skip the plastic! The epoxy drips everywhere and if it gets somewhere you don’t want … good luck getting it off!
Click to View on Amazon
Spend time taping off properly
Click to view on Amazon
The plastic is one of the most important steps!
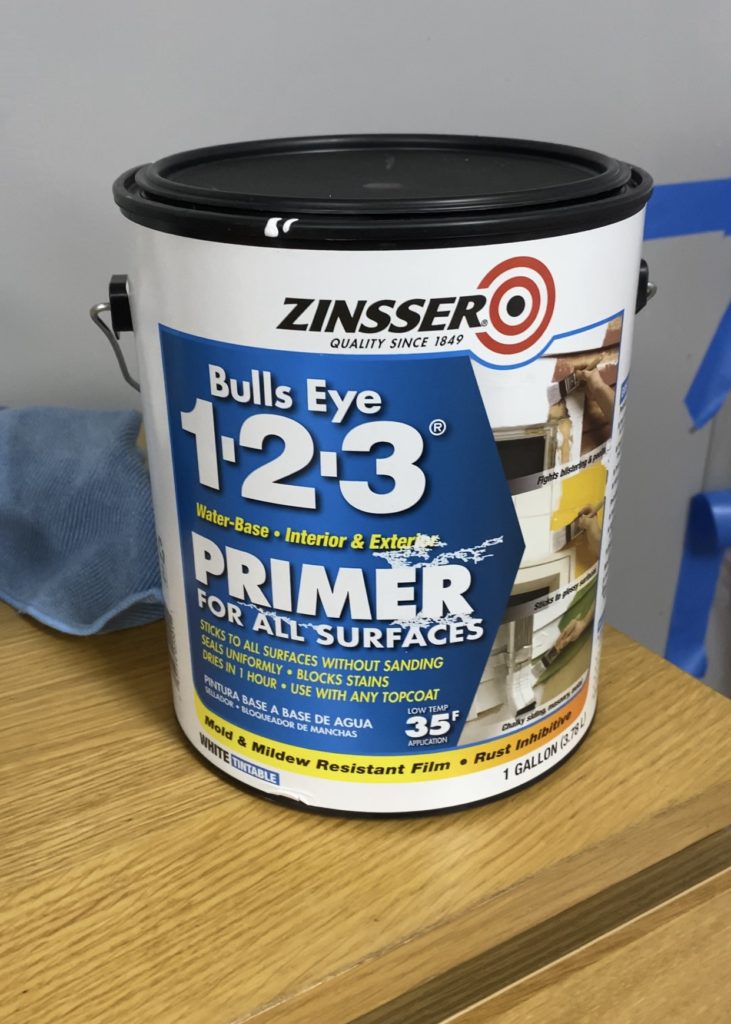
Step 3: Primer & Sanding
When you’re painting a surface that hasn’t been painted before, It’s always a good idea to use a primer. Plus, it’s cheaper than paint and may save you an extra coat of paint.
You can use a paint+primer combo, but I already had the primer laying around waiting to be used.
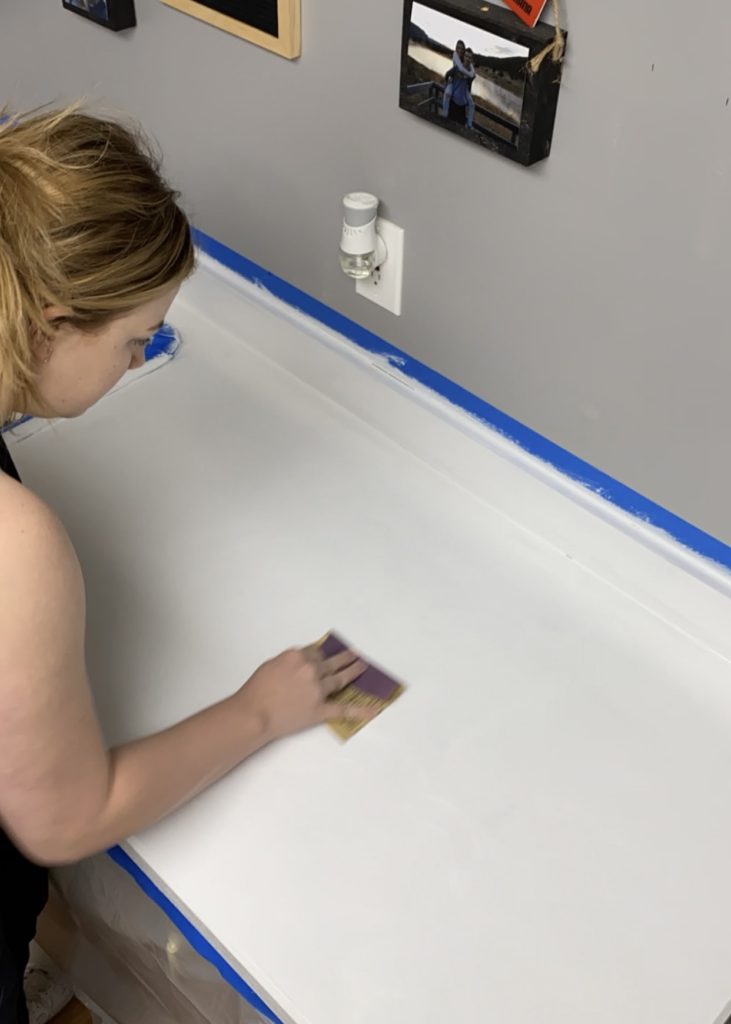
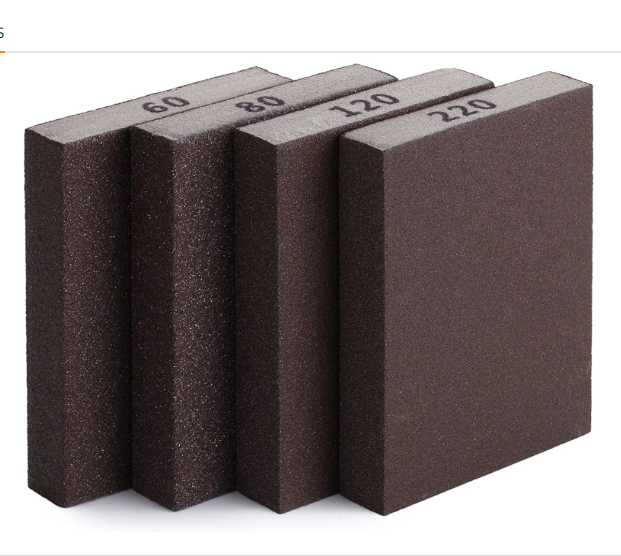
After your primer is dry, It’s a good idea to lightly sand it down using a fine grit sandpaper (220) and insure a smooth surface.
DONT FORGET to clean it really well after sanding!
Click to view on Amazon
Nothing special, Any Primer and paint will do...
Here's the one I used
click to view on Amazon
I would recommend a sanding block like these... Don't forget to clean really well after sanding
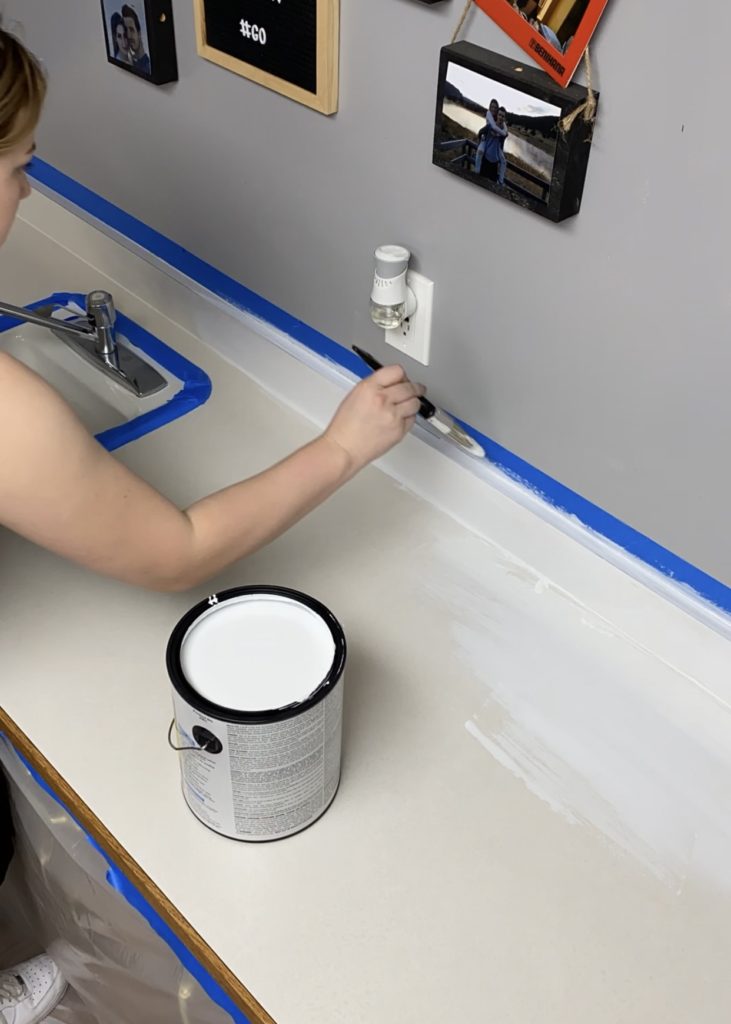
Step 4: First and Second Coats
Repeat the same process that you did with the primer!
1. Paint and let dry. 2. Sand with 220 grit. 3. Clean thoroughly
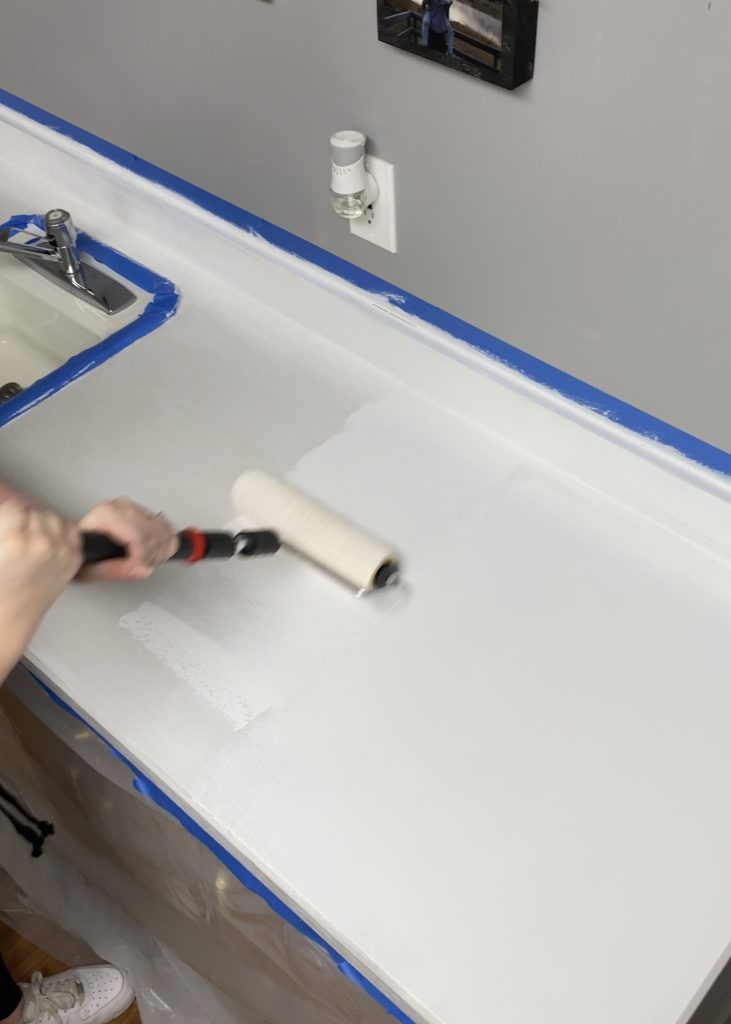
I did two coats of paint on top of my primer but I don’t feel like that was necessary (go with your gut!)
A roller will give a smoother finish than any paint brush...
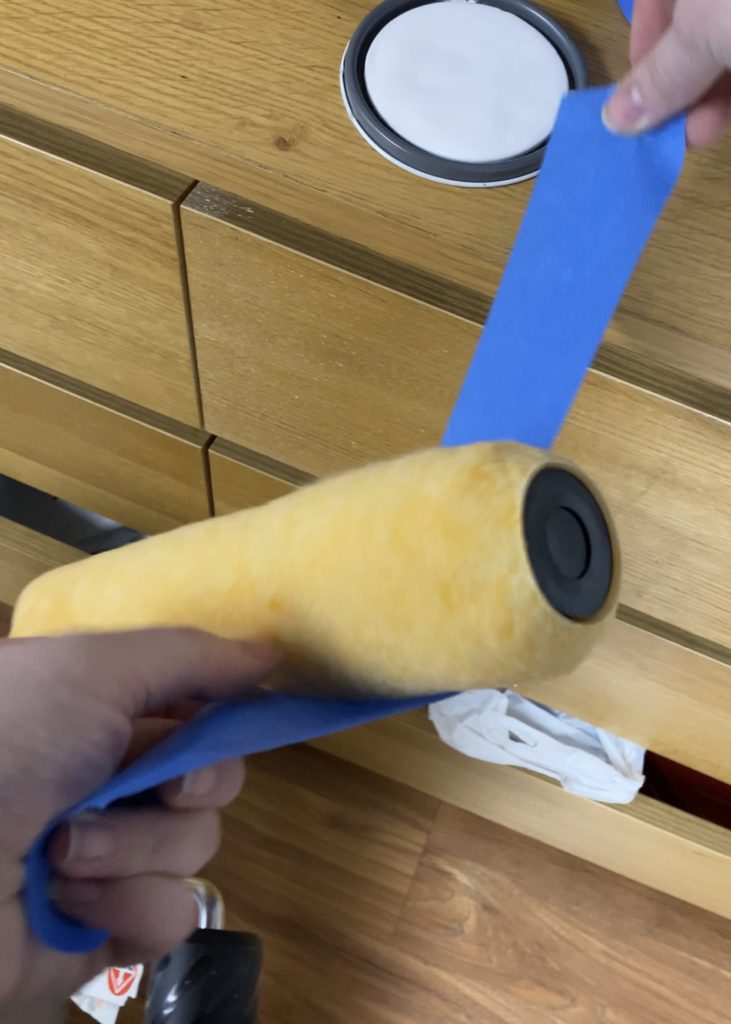
***TIP: Before using a new roller, roll it with tape to get any fuzzy's off
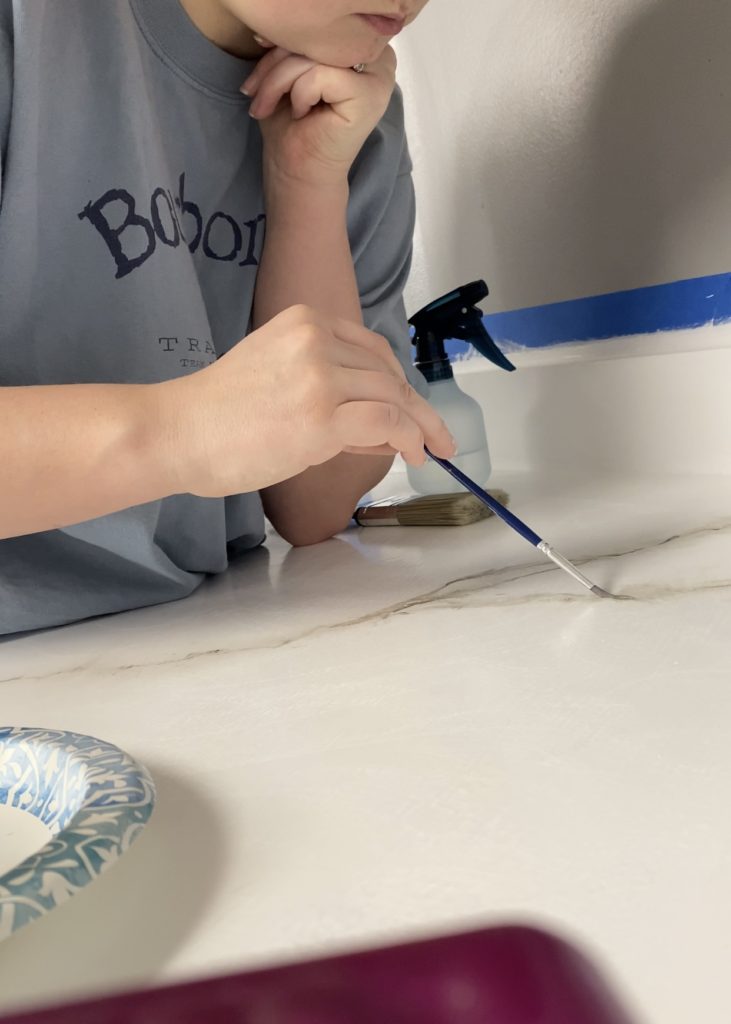
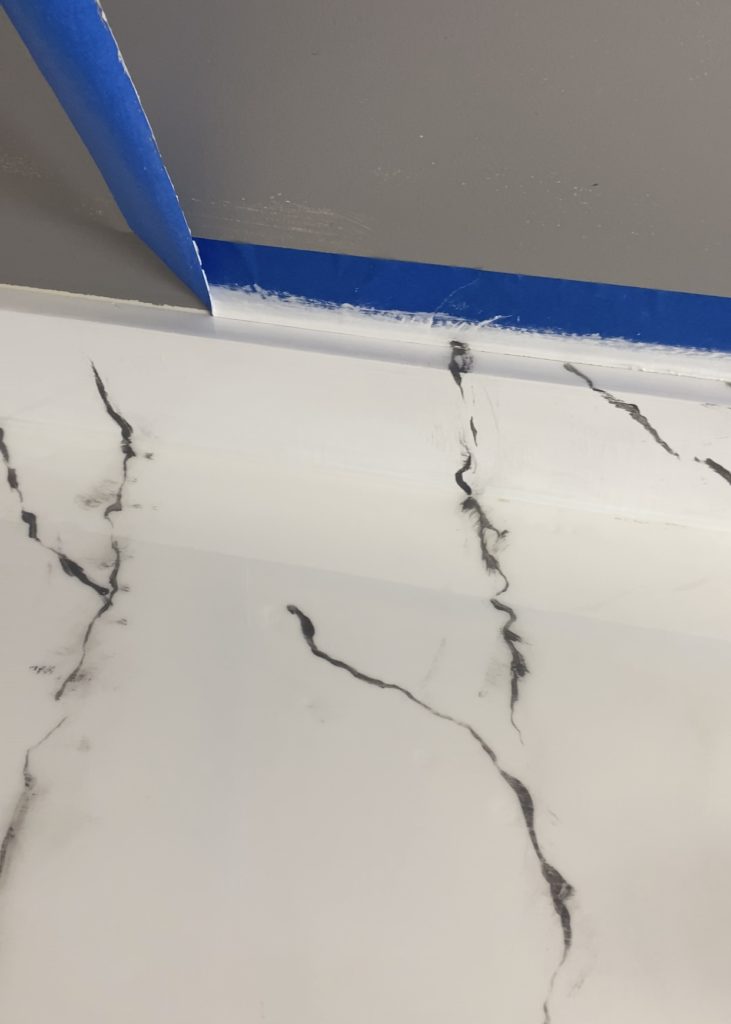
Step 5: Marble (the fun part)
Here’s the fun part! … and my best tips…
1. ITS FORGIVING: If the layers of base paint are completely dry … you can spray the marble paint with water and take it off as many times 3-4 times! I didn’t like the color of gray I was using at first, so I sprayed it with a water bottle and wiped it off with a paper towel.
2. IT DOESN’T HAVE TO BE PERFECT: Instead of trying to draw the best line, try holding the paintbrush by the very end of it and twist, lift, and drop the brush randomly. It’s ok if it’s not perfect!
3. WATER HELPS BLUR AND HIDE MISTAKES: Spray the marbled lines with water and dab it with a larger paint brush to blur the line.
4. ERASE BAD MISTAKES WITH PAINT: If there is a line you cant get off with water, you can paint over it with the original white paint.
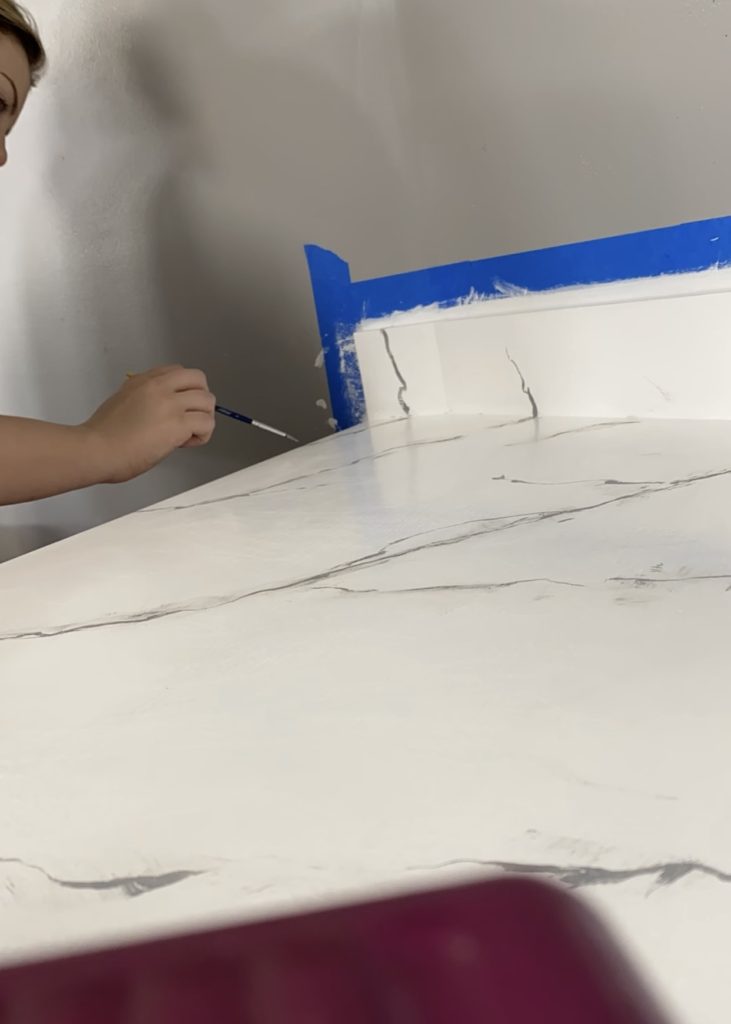
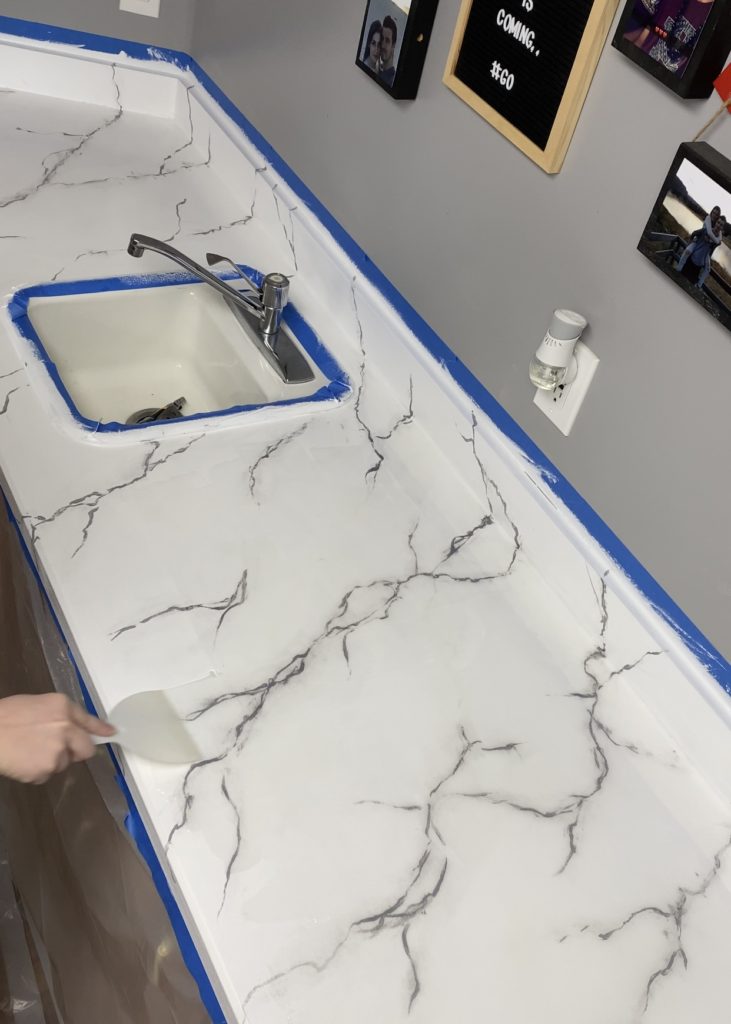
5. WORK ON THE FLAT SURFACE FIRST: Work on the flat surface first and then extend the lines onto the sides when you like what it looks like.
6. DON’T BE OVERWHELMED: Some of my biggest mistakes became my favorite parts.
Painted it,
Hated it,
and Erased it with water and a paper towel
After I was happy with the surface,
I extended the lines onto the back and sides
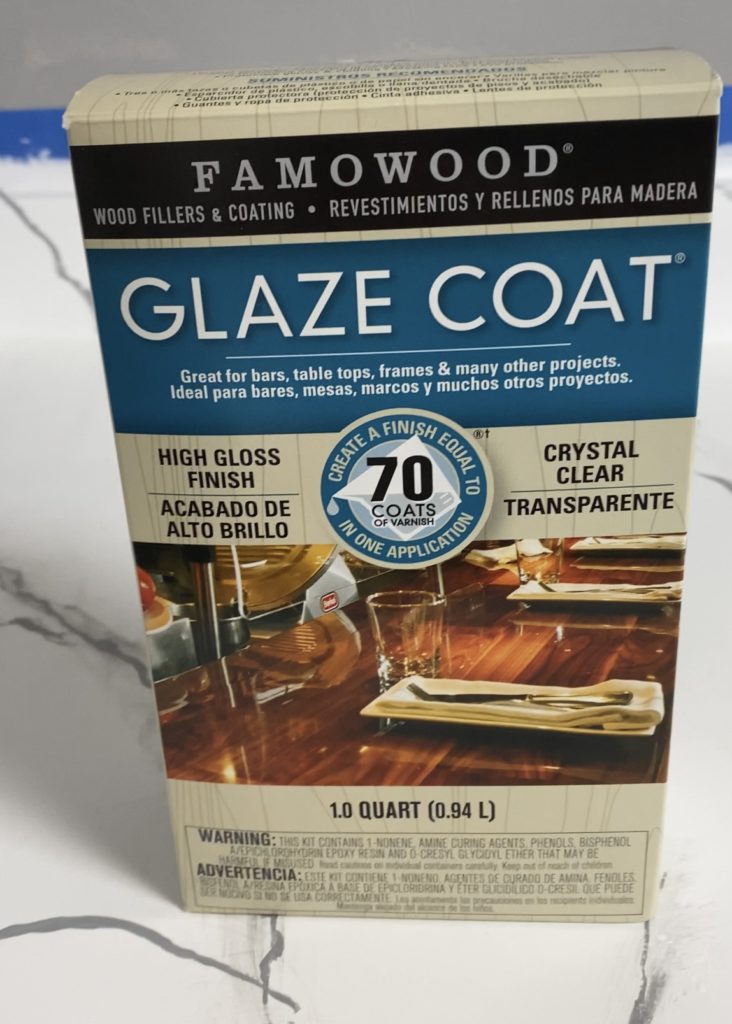
Step 6: Epoxy
Ok, this is the hard part… Let me tell you the mistakes I made and how you can make it perfect on your countertops!
1. The kit I used was the perfect amount of Epoxy for this small kitchenette (I got 1 quart), If you’re doing an entire kitchen, you’ll need multiple kits, or a larger one.
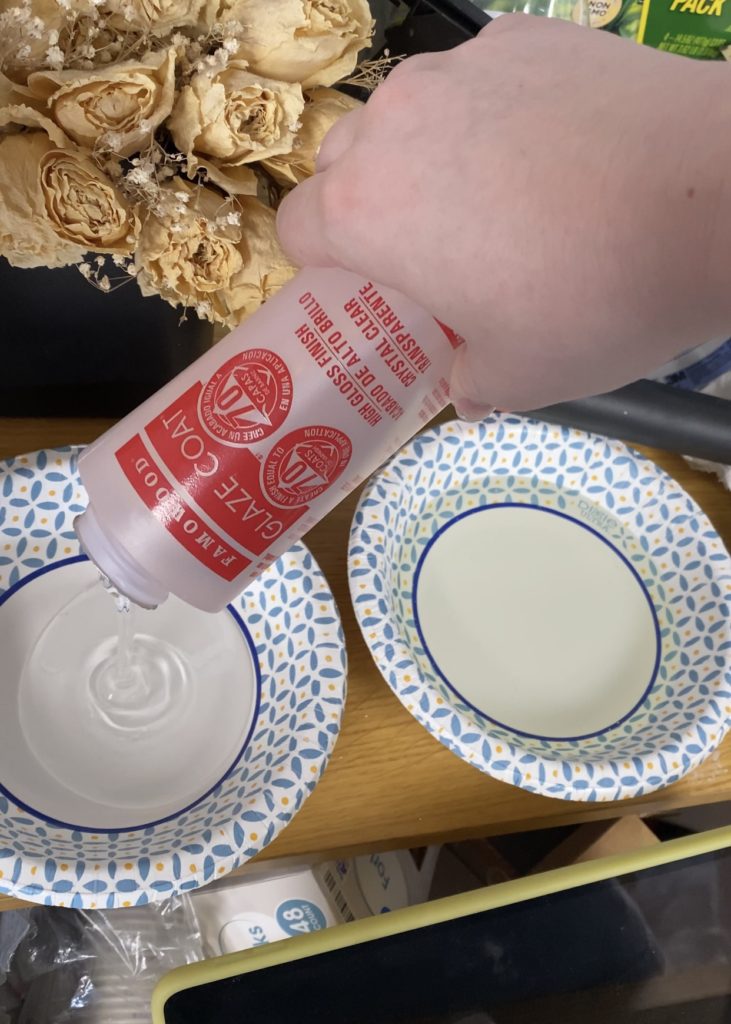
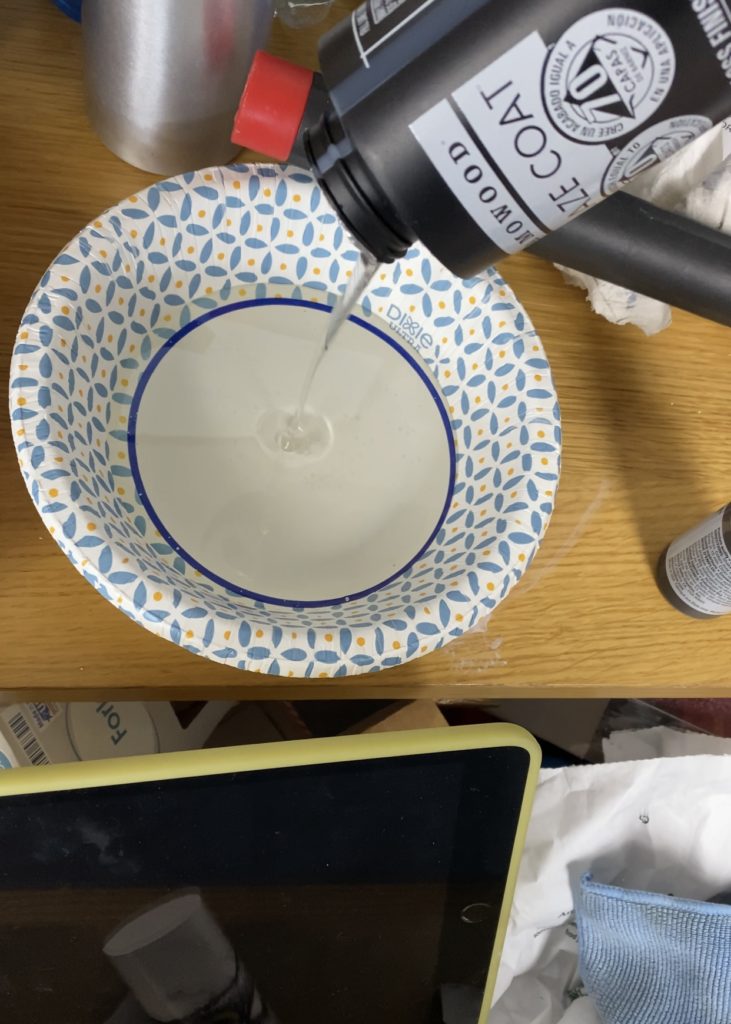
2. Pour out the bottles in separate bowls and then pour them together when you’re ready … I used paper because I was lazy… (I wouldn’t recommend that haha) *Once you pour them together you have about 15 minutes of working time before it starts to harden. I used one kit and did it in two separate mixtures, but I think I could do the whole thing at once, (do whatever you’re comfortable with).
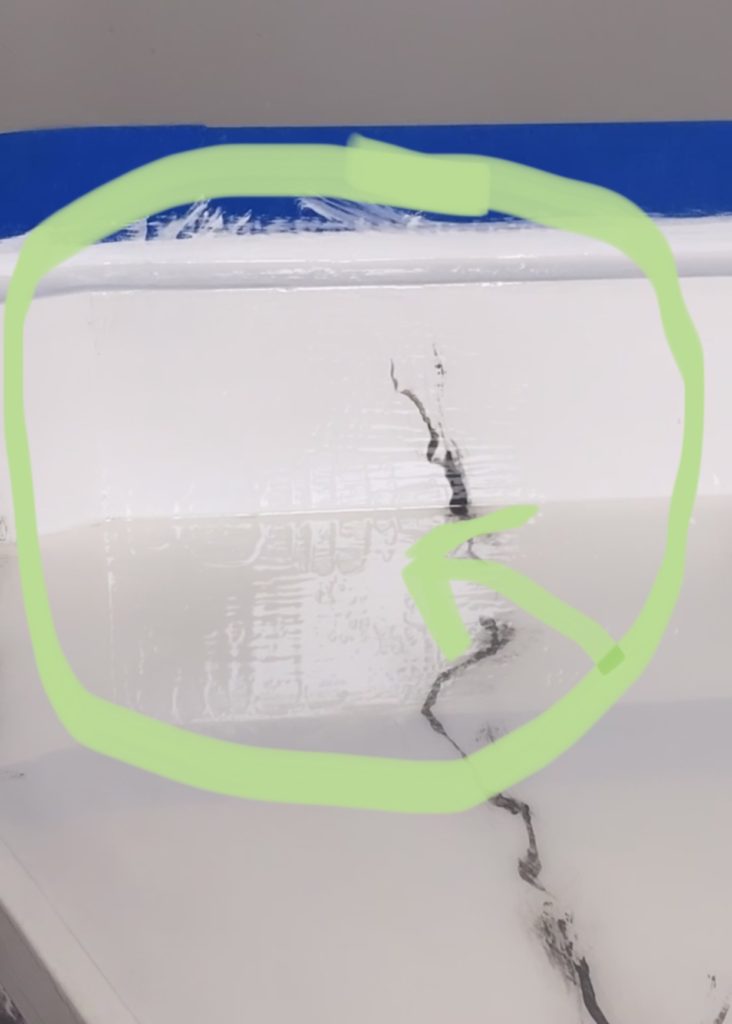
3. If you have a counter that goes onto the walls like mine START THERE!! I started on the surface and I didn’t have quite enough to do the edges so there are drip lines. If you start on the edges you can make it look nice and then scrape off excess to use on the surface.
4. I used a plastic putty knife to spread it … It worked ok but I would use a small foam roller if I was going to do it again.
5. Use a plastic putty knife to scrape off the drips on the bottom.
Click to View on Amazon
1. pour glaze coat
2. pour activator
3. Mix together
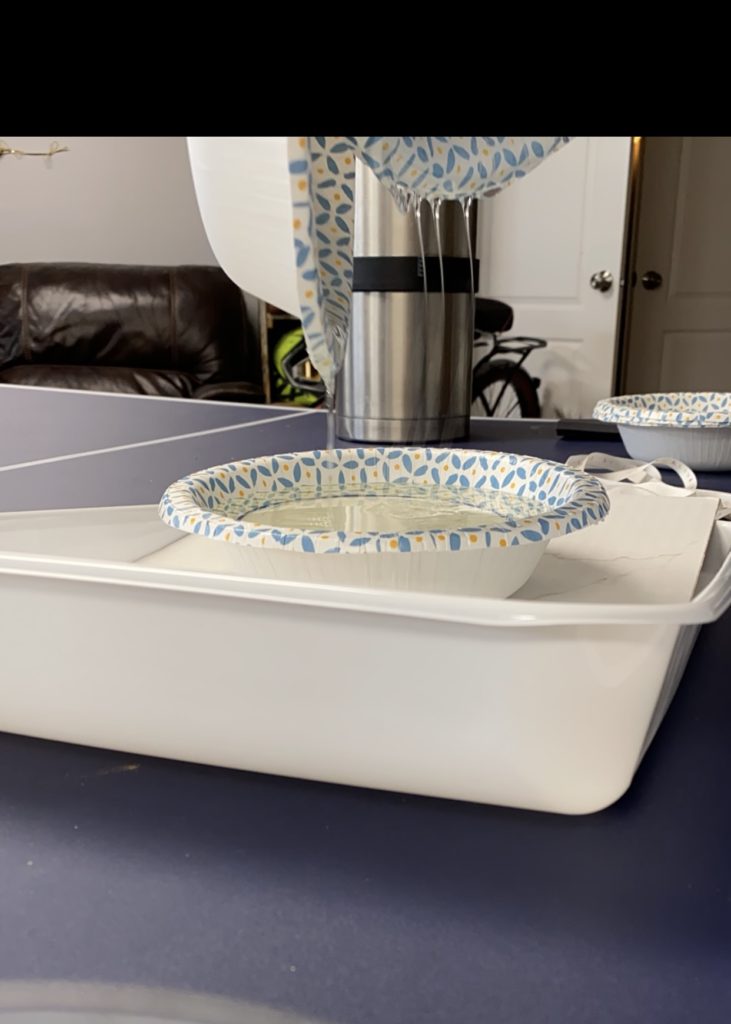
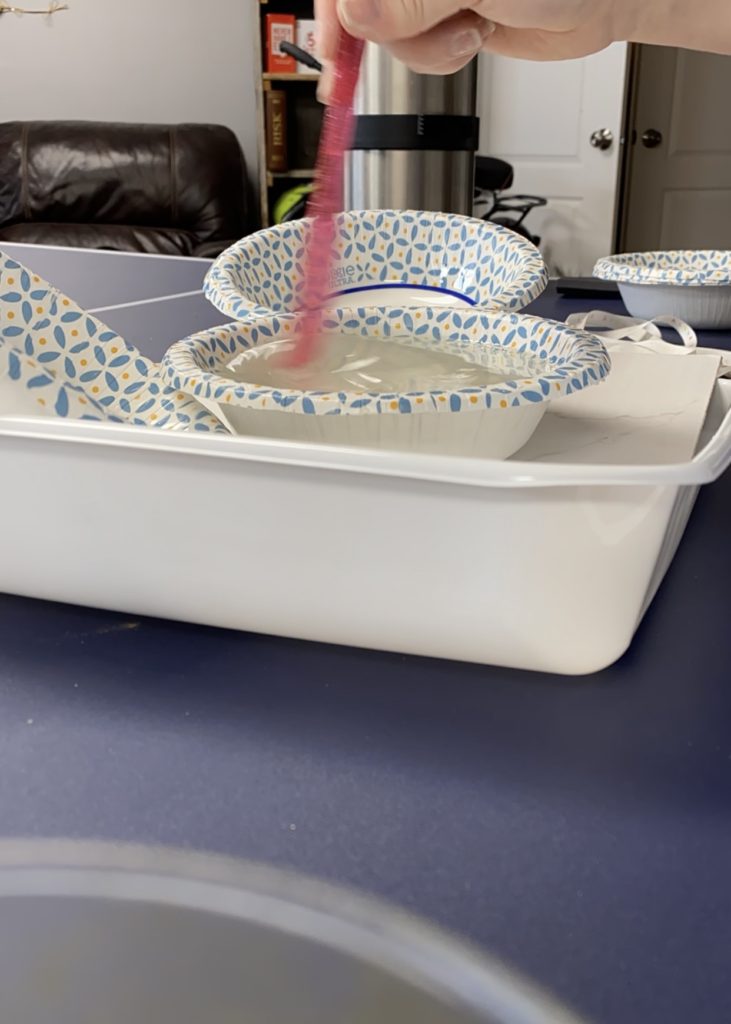
4. stir with something that can be thrown away
5 pour onto countertops (back edges first, surface second ... not like me)
*doing the edges first should help prefent this dripping
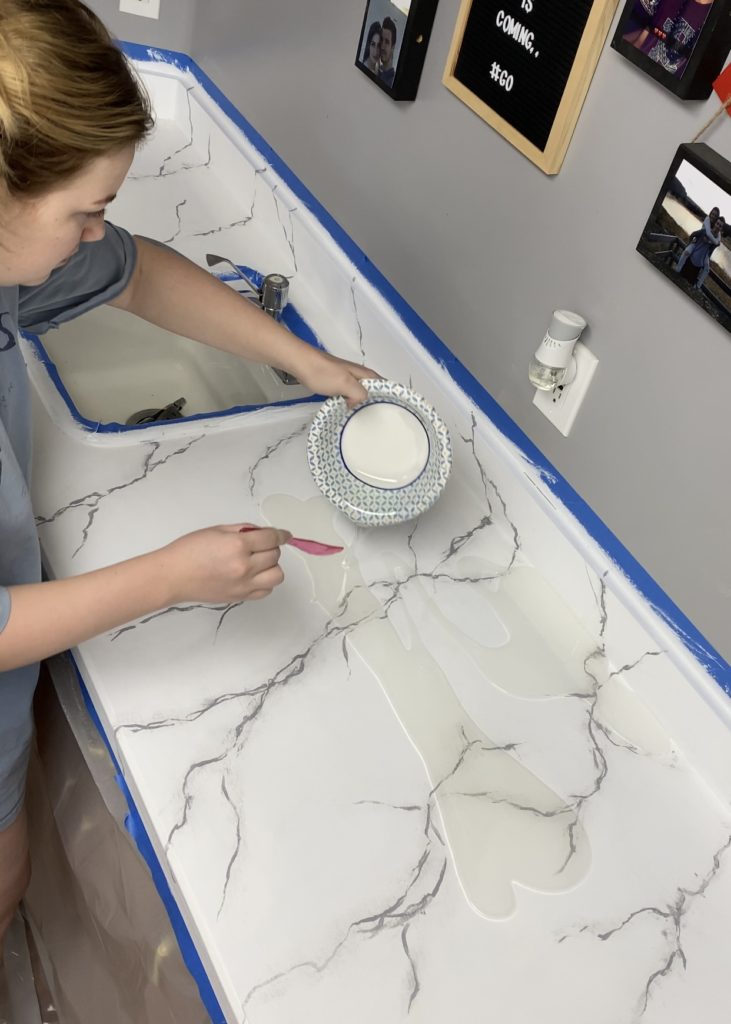
6. Spread evenly with a foam paint roller (would be much easier than the putty knife i'm using)
Step 7: Perfecting the Countertops
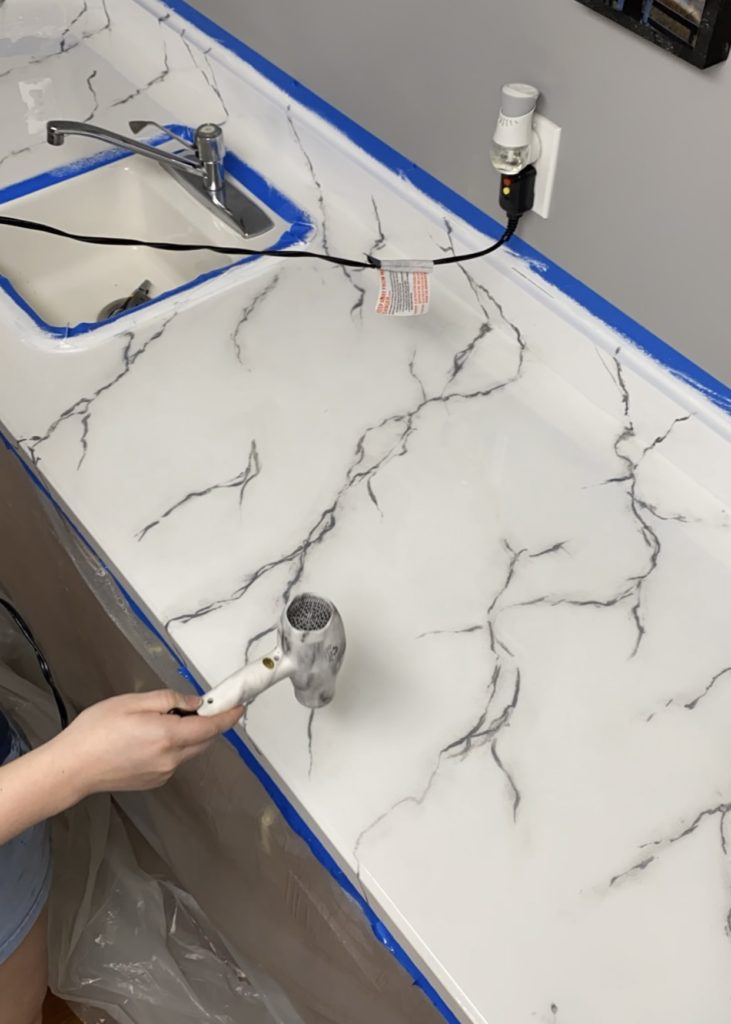
Before it dries completely, take a heat gun to the surface to pop the bubbles. (I used a hair dryer, and it popped a few but not all)
Once you have the epoxy on, take a plastic putty knife to scrape the drips on the sides.
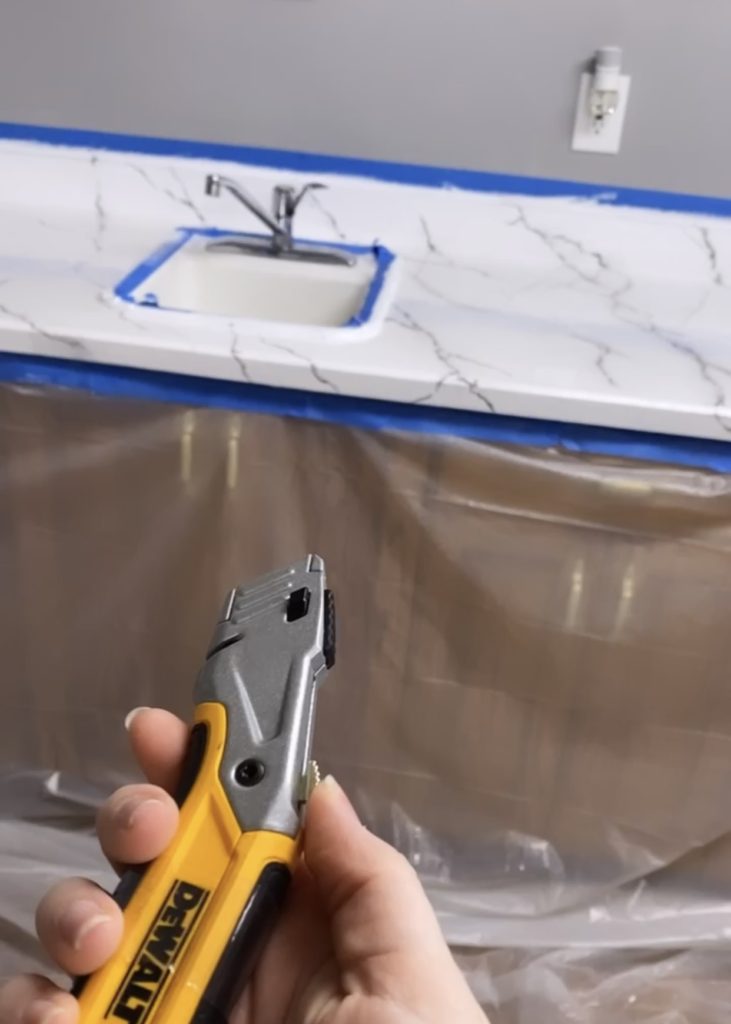
Take a razor knife of scissors to the tape edges, and pull the tape off after the 15 minute hardening time, but before it dries completely (it takes 72 hours to harden completely, and avoid heavy use for about 7 days)
A heat gun would work muuuchhh better
using a roller instead of a putty knife to spread would have fixed the drippings on the sides
Cut between the tape and coutertops befor pulling the tape
Pull the tape at a 45 degree angle before the epoxy hardens all the way (72 hours)
The great thing about this, is you can play with colors and designs. It is completely custom! I think this is better than buying a marble kit. Just buy the epoxy kit, and paint however you want!
If I was going to do this again, I would blur the lines more (with a spray bottle and tapping with the end of a large paint brush), and spread them out, and also go with a lighter color of gray … but overall, I really like it! Perfect for what I needed!
The cabinets will be posted next, I can’t wait! to follow along with the projects I’m currently doing: follow me on Instagram! Current projects are always in stories, and past projects are in my hightlights:)
The Beginning of My diy Journey (And What's To come...)
Hello, and WELCOME!! This is my first blog post (woohoo!!). You can learn a little bit more about me on the ”Meet Ashli” page, but I just wanted to briefly introduce myself and show you a little of what’s to come:)
I’m Ashli, and I have a passion for DIY projects! In 2020 I was in my third year of battling with infertility, and I was desperate for a distraction. I was working as my husbands……
"Mav's Mountains"
(the most epic nursery accent wall ever)
Before we even put an offer in on our home, I knew that Mav’s nursery would be the first project I would tackle! After our offer was accepted, I did a deep dive on Pinterest …