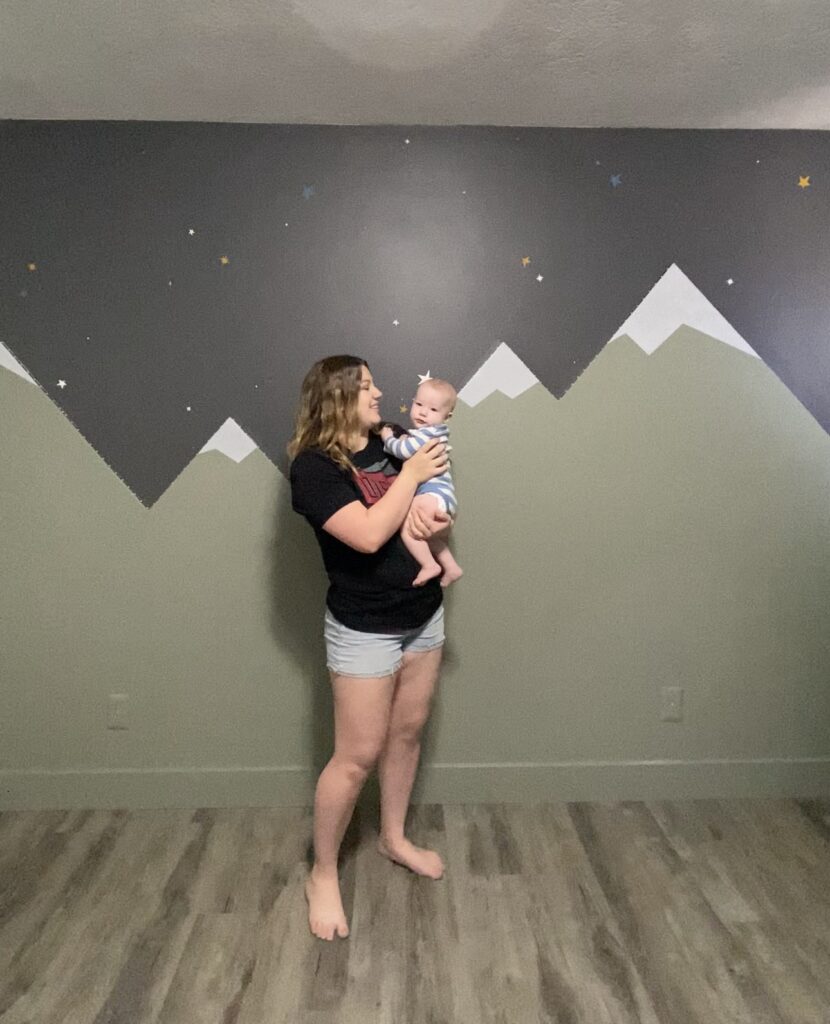
Before we even put an offer in on our home, I knew that the nursery would be the first DIY project I would tackle! After our offer was accepted, I did a deep dive on Pinterest to find nursery ideas. I wanted it to be extravagant and and fun.. something you wouldn’t see in any ol’ nursery. I found a few ideas I LOVED (pictured below), but I couldn’t find any “how to’s”. So I took these photos, created a vision of how I wanted it to look and decided to learn how to drywall! Since I couldn’t find any instruction on how to do something like this, I just made it up as I went along, and it worked out even better than I imagined! SO, if you’re wanting to make your own version of this epic nursery accent wall.. I created my own “how to” instructions so you don’t have to make it up as you go like I did!
Here are the step by step instructions on how I did it, and what I would have done differently …
FULL VIDEO OF IT BEING DONE AT THE BOTTOM!
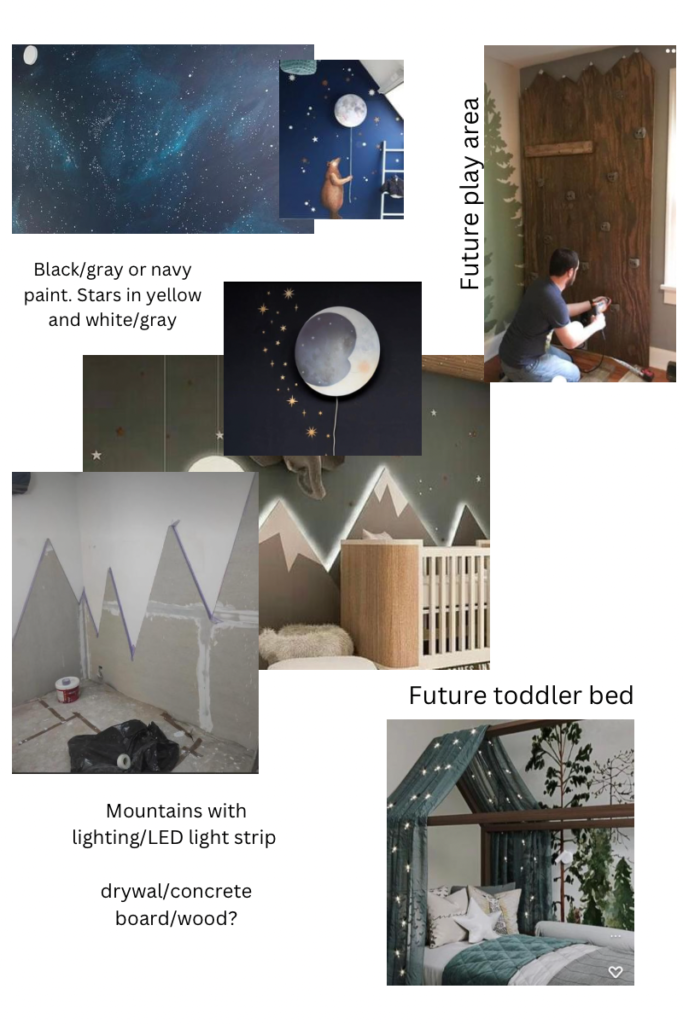
STEp 1: create vision board
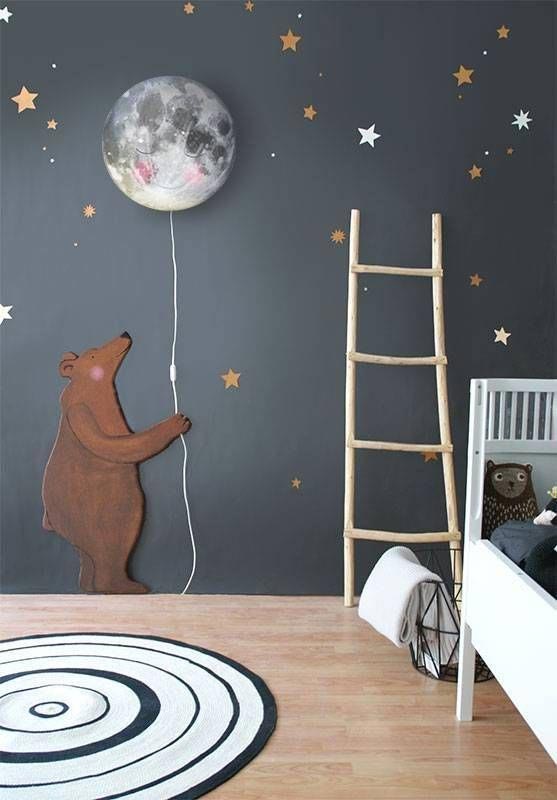
Here are my inspo photos I found on Pinterest, and last is the vision board I put together using Canva..
Click to view on Pinterest
Click to view on Pinterest
Click to view on Pinterest
Click to view on Pinterest
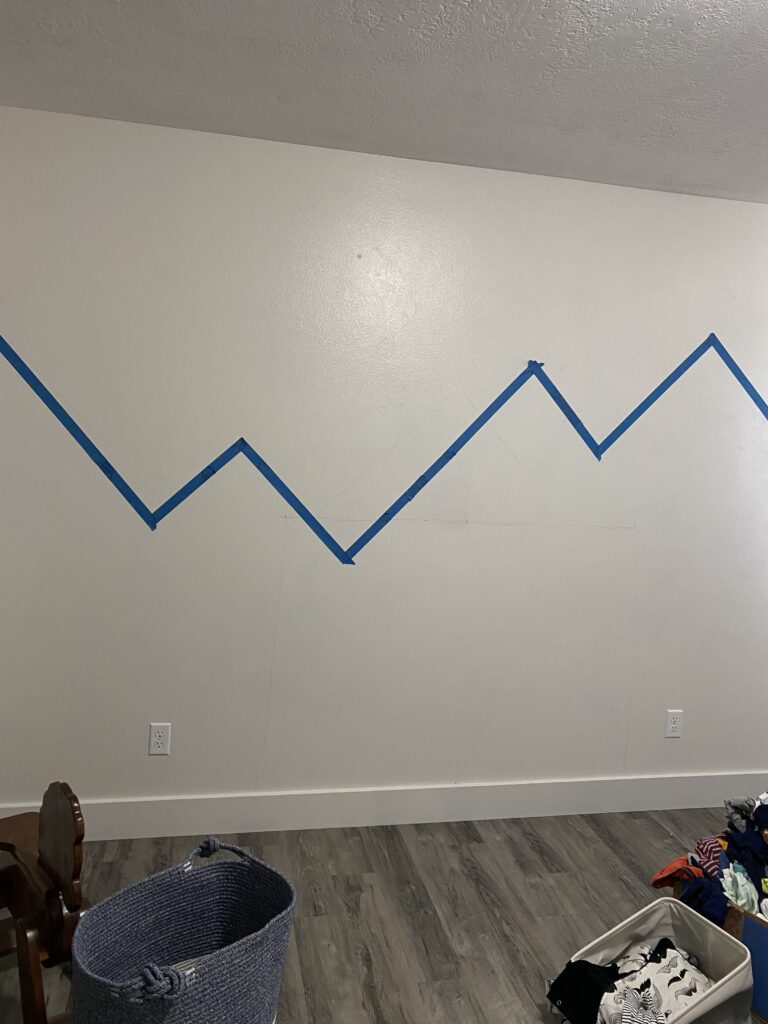
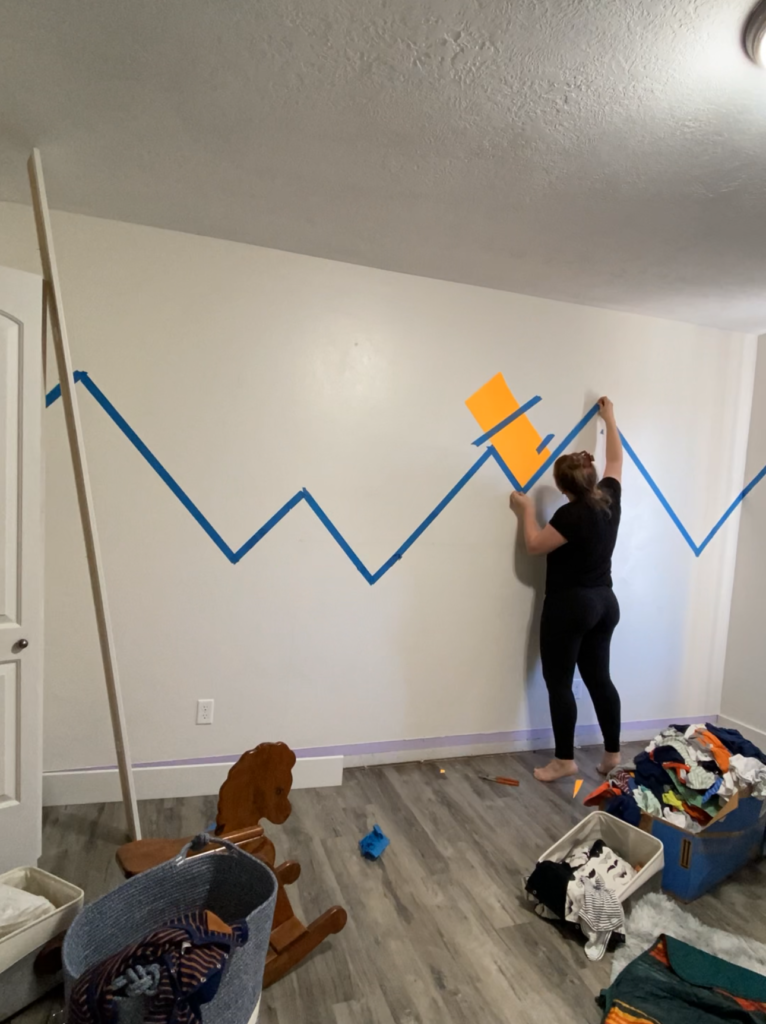
Step 2: tape out a visual
I cleaned the wall and taped out an idea of how I wanted it the mountains to look … After I had a look that I liked, I cut out a piece of poster board to match the angle I liked best, and then taped it up to all the other angles to match … I know, super professional … but it worked!
I wouldn’t skip this step! It really helped me get a better visual in my head, and plan everything out perfectly!
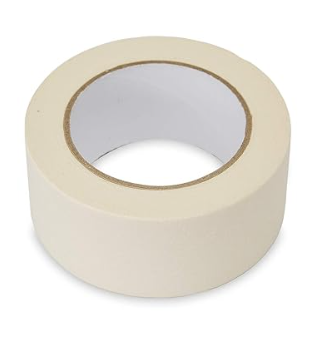
Click to View on Amazon
Spend time taping a shape you like
Use a guide to adjust the tape and make all the angles match (up and down)
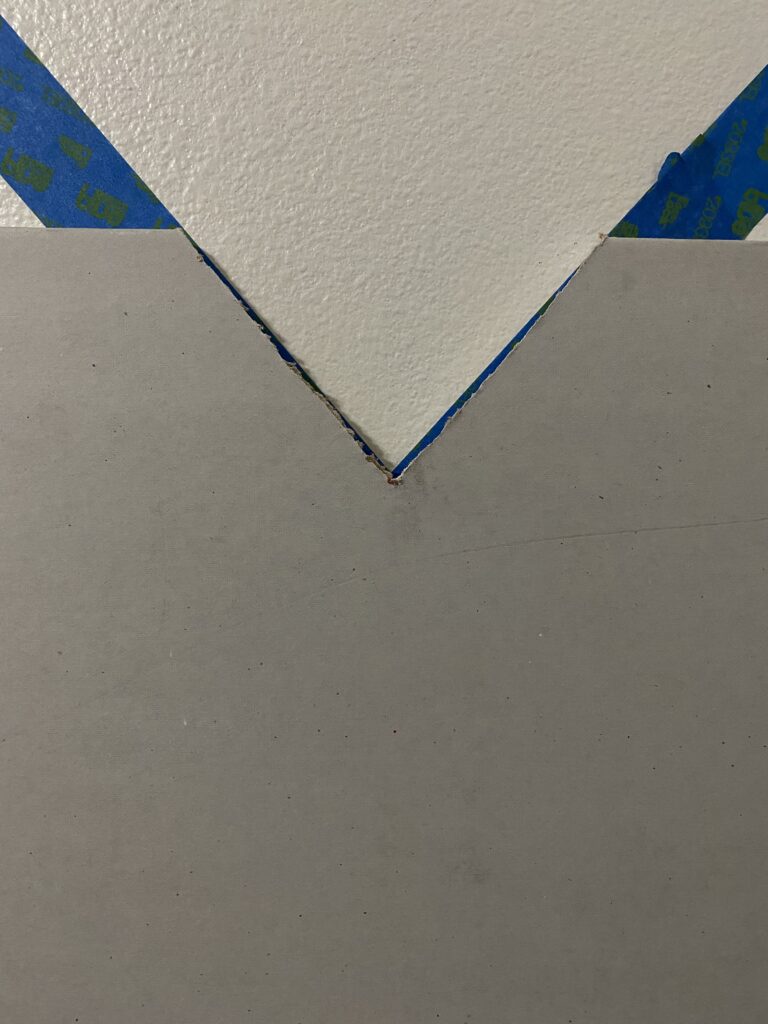
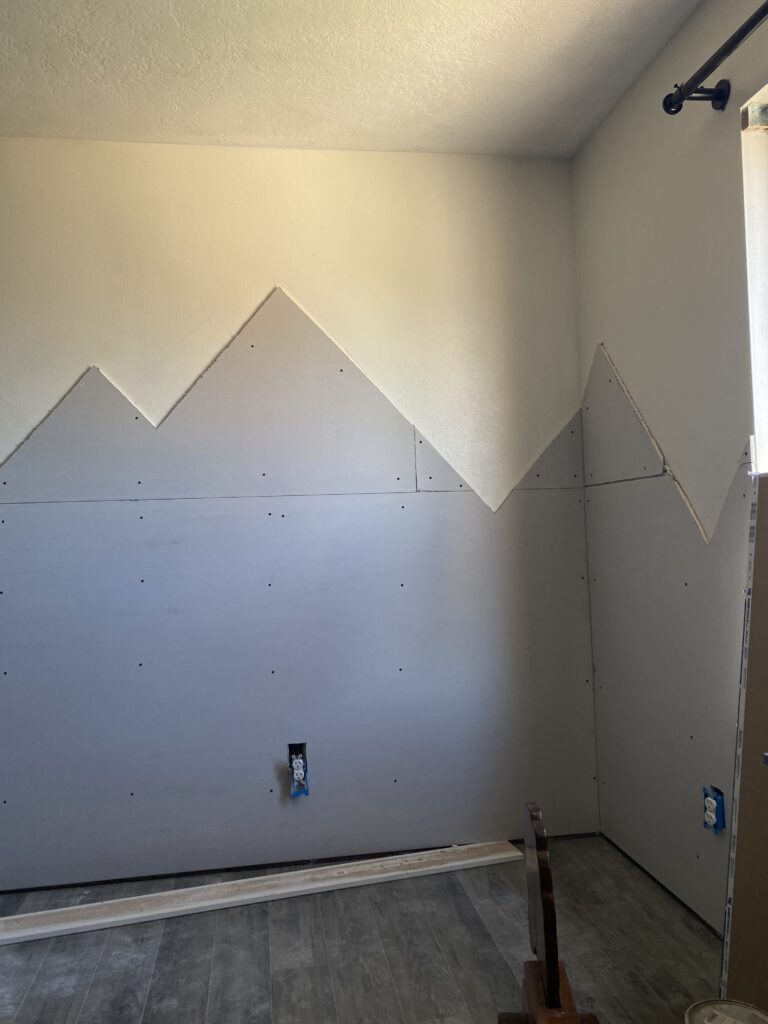
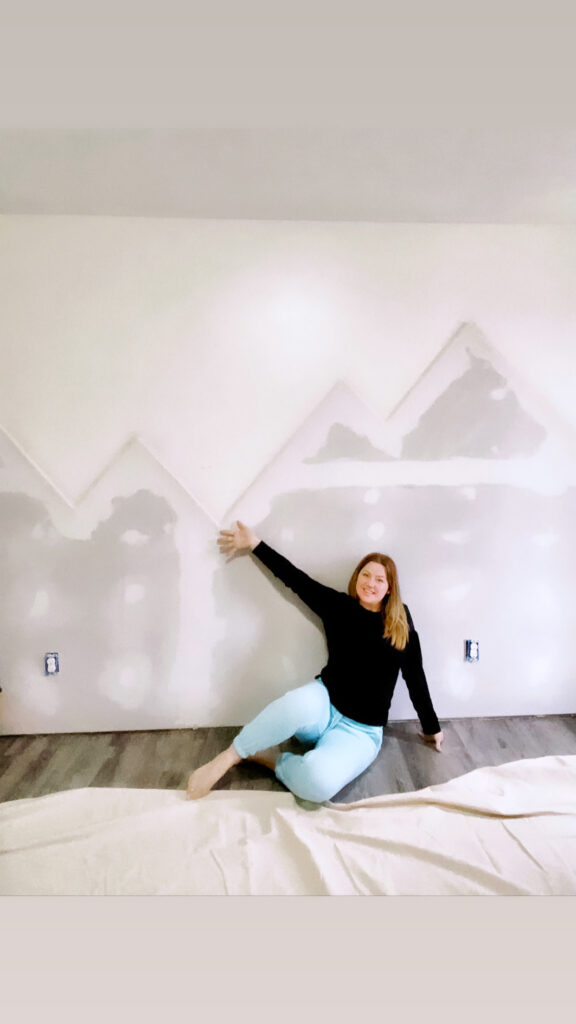
Step 3: Remove the baseboards and Cut the drywall
Ok … this is going to be hard to explain, but I’ll do my best! … I am sure there is a better way to do the math for this but this is how I did it!
After I removed the baseboards, (cut the caulk with a razor knife, and pry off with a flathead screwdriver.) I held up the drywall where it would sit … starting against the wall, sitting on the ground (shown below). Then I made a mark on the two points where the tape meets the drywall (marked in blue) … then I held up something with a straight edge to match the tape line and traced it onto the drywall until the two points met (marked with a dotted line).
Then it’s ready to cut! I used a drywall knife and did it by hand, but looking back it would have been much easier to use a jigsaw!
In order to cut the holes for the outlet, I measured the distance from the wall to the outlet, and from the floor to the outlet, and then measured those distances on the drywall to make a mark, and cut it out.
Here is my best visual representation of how i measured to cut the drywall
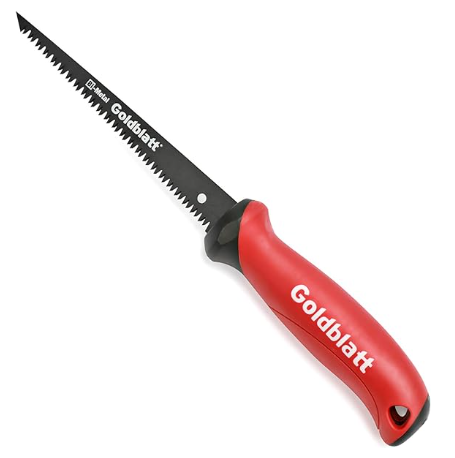
click to view on Amazon
This is the Drywall saw i Used (it's ok if the cut is not perfect!)
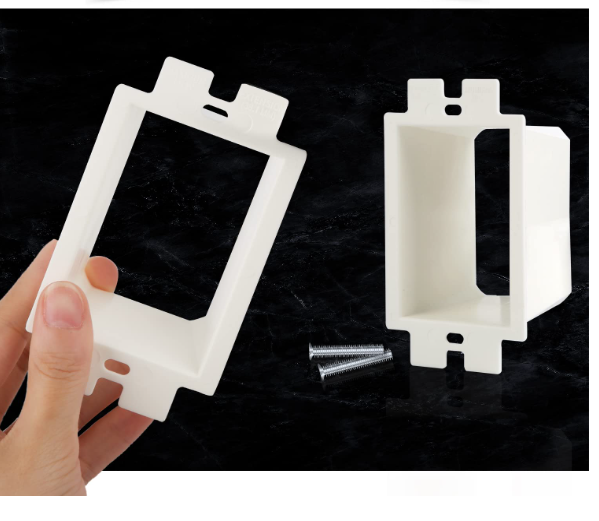
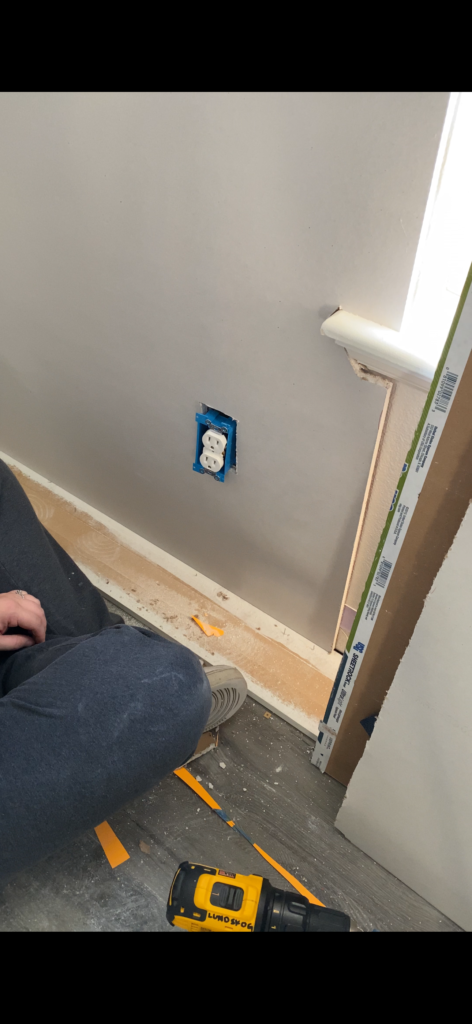
Step 4: Extend the outlets and screw in new drywall
Don’t let this scare you! Here is how you do it …
Turn off the power. Put new drywall in place. Unscrew the outlet. Pull outlet out of wall. Add in outlet extender. Screw outlet back into place.
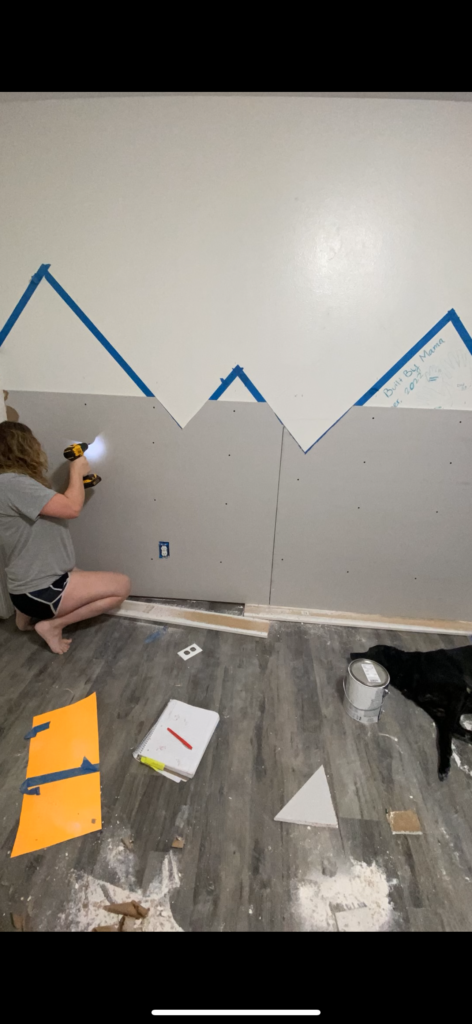
Use a stud finder to find the studs and use drywall screws to screw the new drywall into the studs.
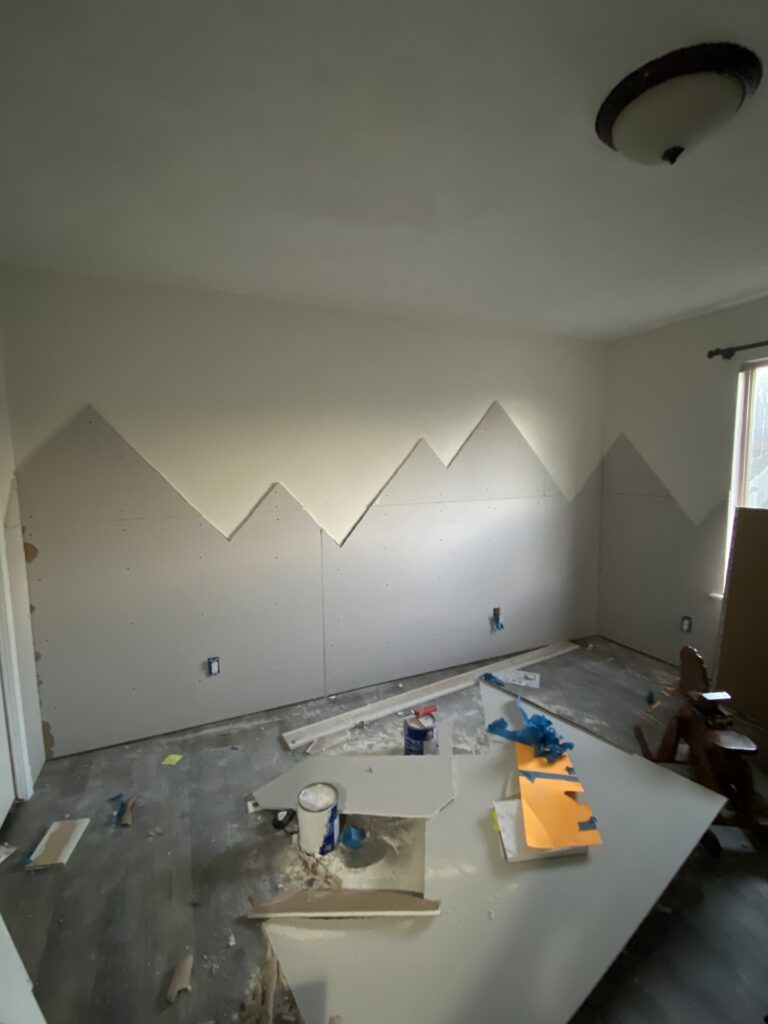
Continue process until the entire shape is filled with drywall!
IT’S MESSY, BUT YOU CAN DO IT!!
click to view on Amazon
outlet extender to move outlet to be flush with the new drywall
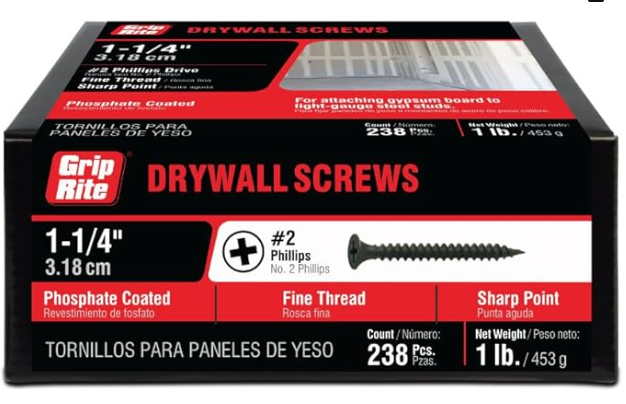
click to view on Amazon
Drywall screws to screw into the studs
It's starting to come together! Can you see the vision??
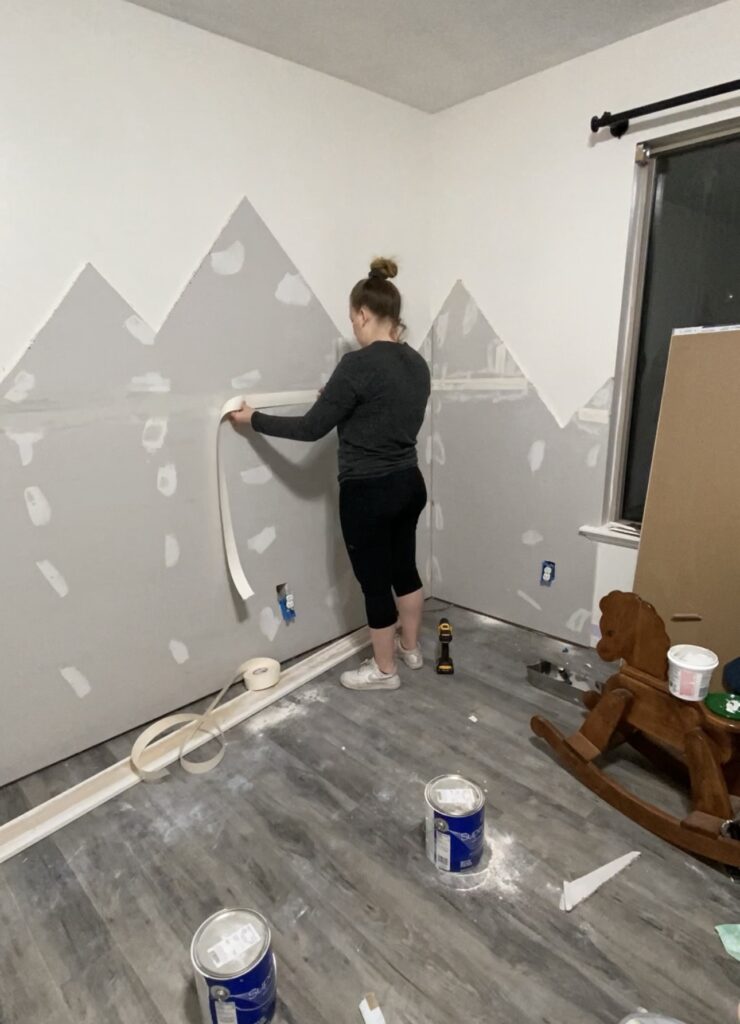
Step 5: Mudding & Sanding!
Ok, this part is actually pretty fun! My best tip is: once you think you have enough drywall mud … ADD MORE!!
Add a THICK layer of drywall mud along all seams, and over all screws.
Then, use drywall tape to cover the seams.
After the mud dries, add another layer or two of mud over the top of the seams and screws!
Sand between each layer! (prepare for a big ol’ mess!)
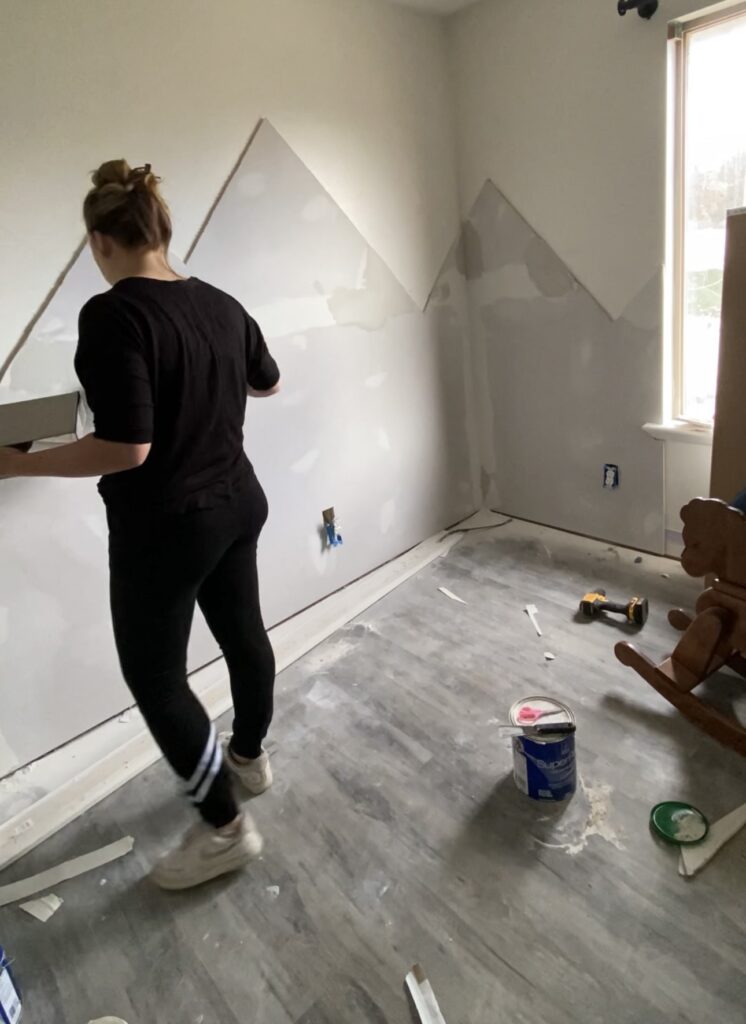
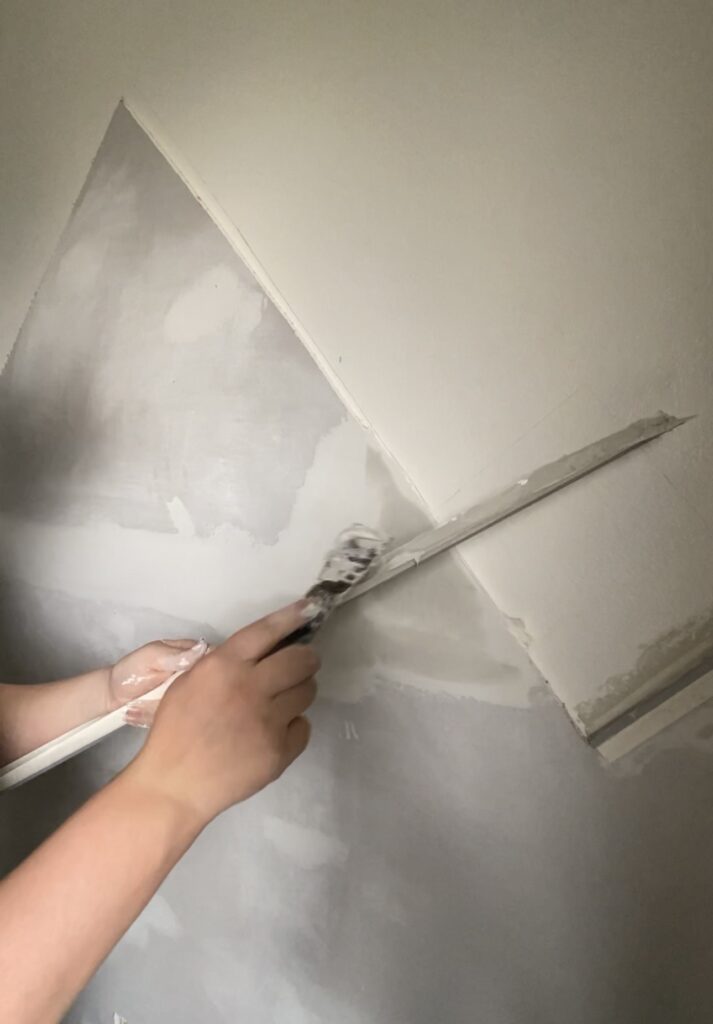
For the inside corner, I just pre-bent the drywall tape and pushed it into place with the trowel
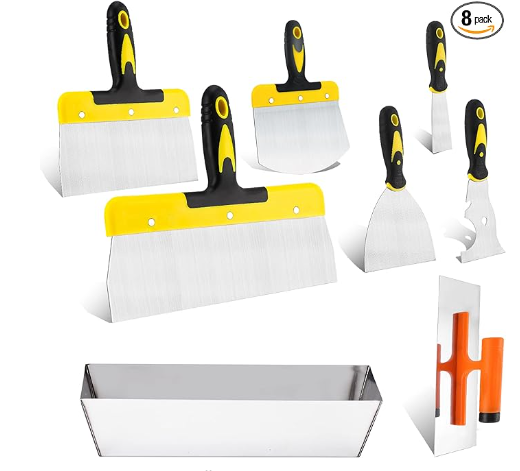
click to view on Amazon
click to view on homedepot.com
Drywall tape and mud
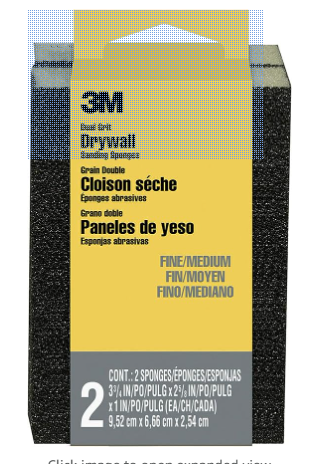
click to view on Amazon
click to view on Amazon
trowel to apply mud and sanders
Step 6: Edges
Doing the edges is very similar to doing the other seams and corners. The biggest difference is I just used about double the amount of mud!
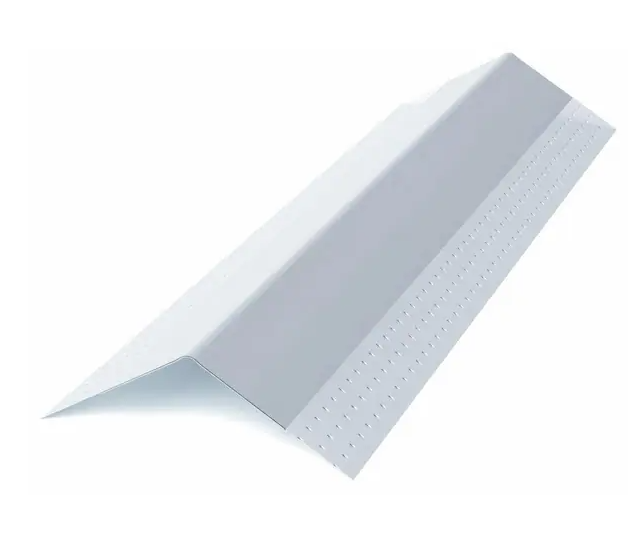
I cut the corner bead to size and pre-filled the inside with mud before I put it into place.
Once it was in place, I used the trowel push it down and squeeze out extra mud.
Then, I added 2-3 layers of mud on top, sanding in between
click to view on homedepot.com
Filling the precut edges with Mud (more than you think)
press on the corner bead, squeeze out extra mud with putty knife, add extra mud on top
Drywall is officially finished!!!
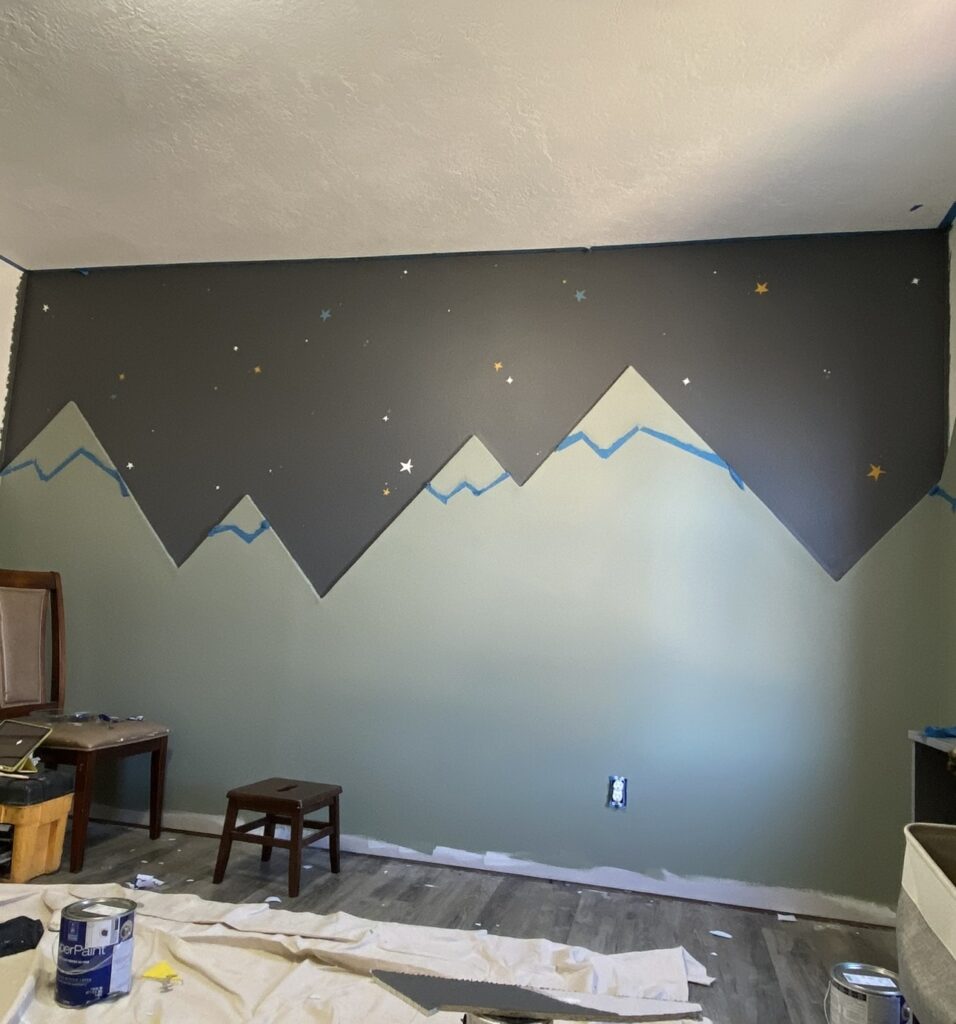
Step 7: pRIMER & pAINT
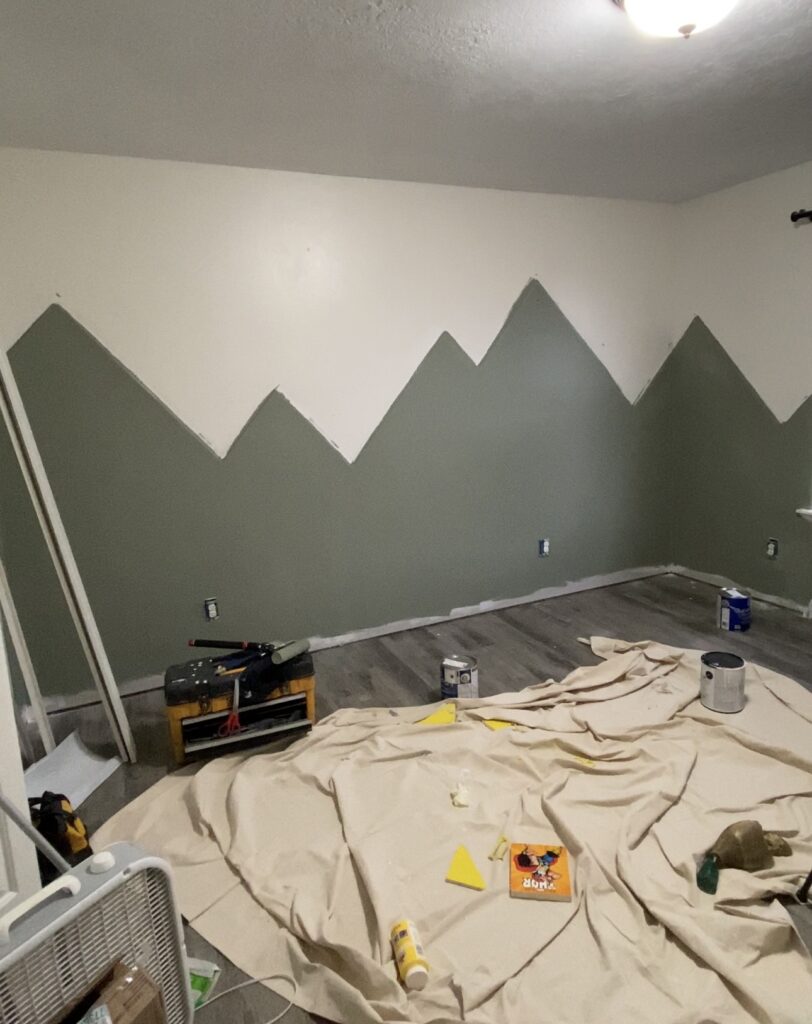
Primer is absolutely necessary, maybe even two coats on plain drywall. Then you can play with fun colors on top! I used Sherwin williams, Evergreen Fog (Green), Nebulous White (Snow Caps), Peppercorn (Black), and Acrylic paints for the stars!
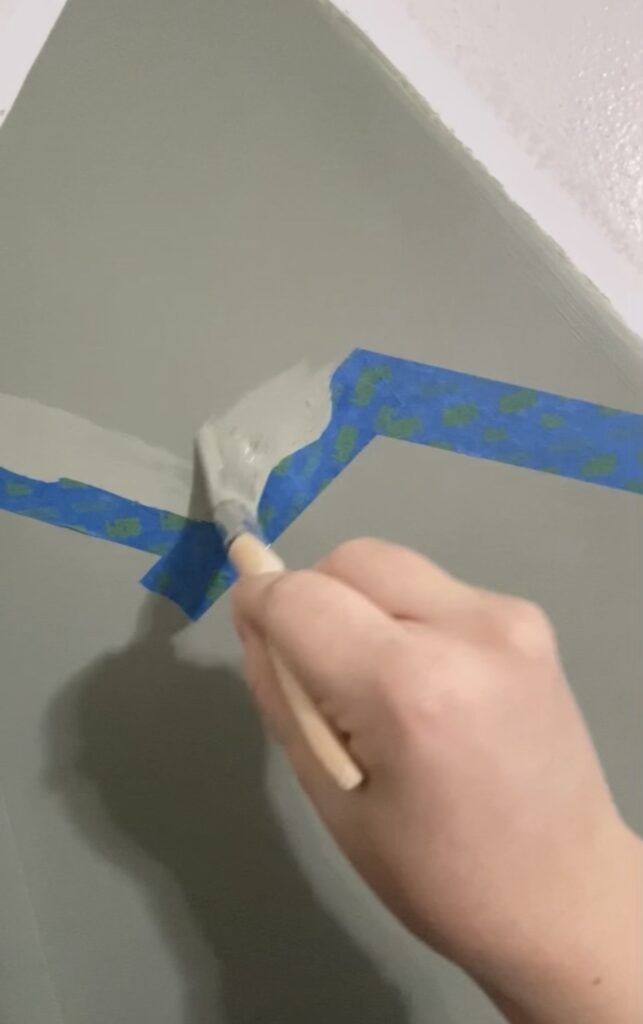
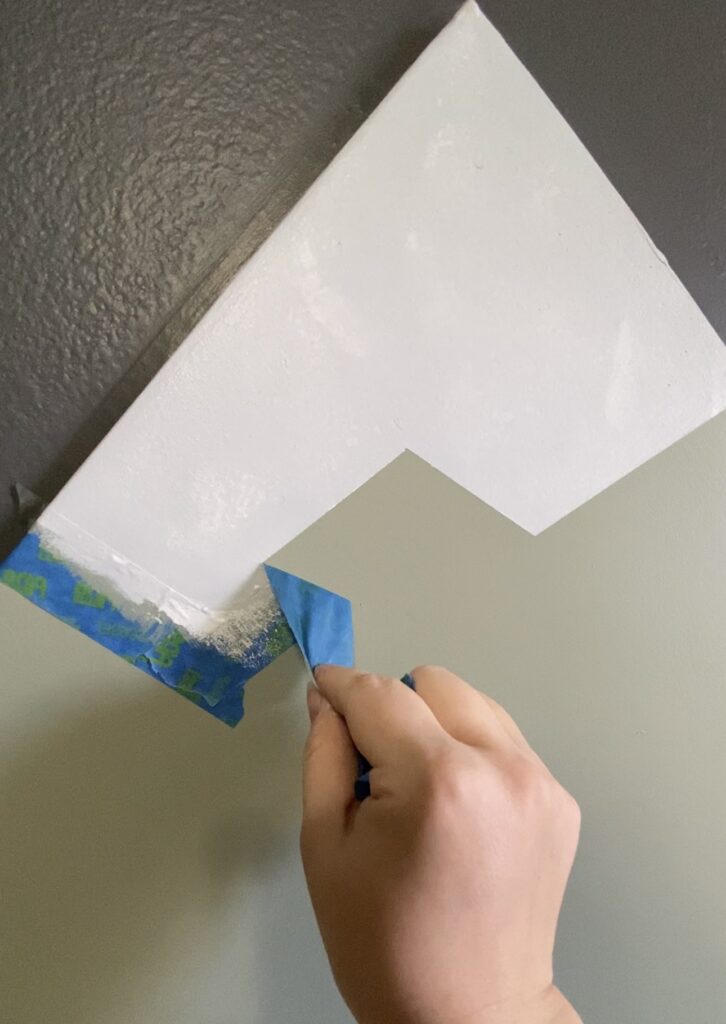
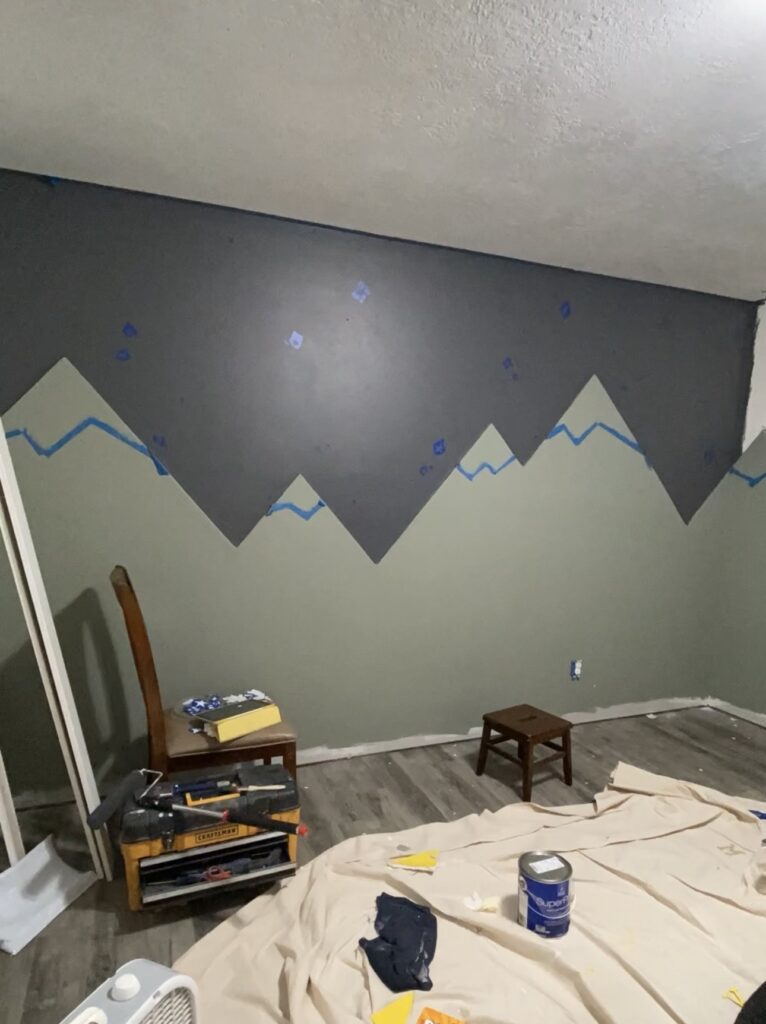
I painted the entire mountain green, then taped off the snow caps and painted green over the tape line to seal it. Once that was dry, I painted the white over the top of it, and peeled off the tape.
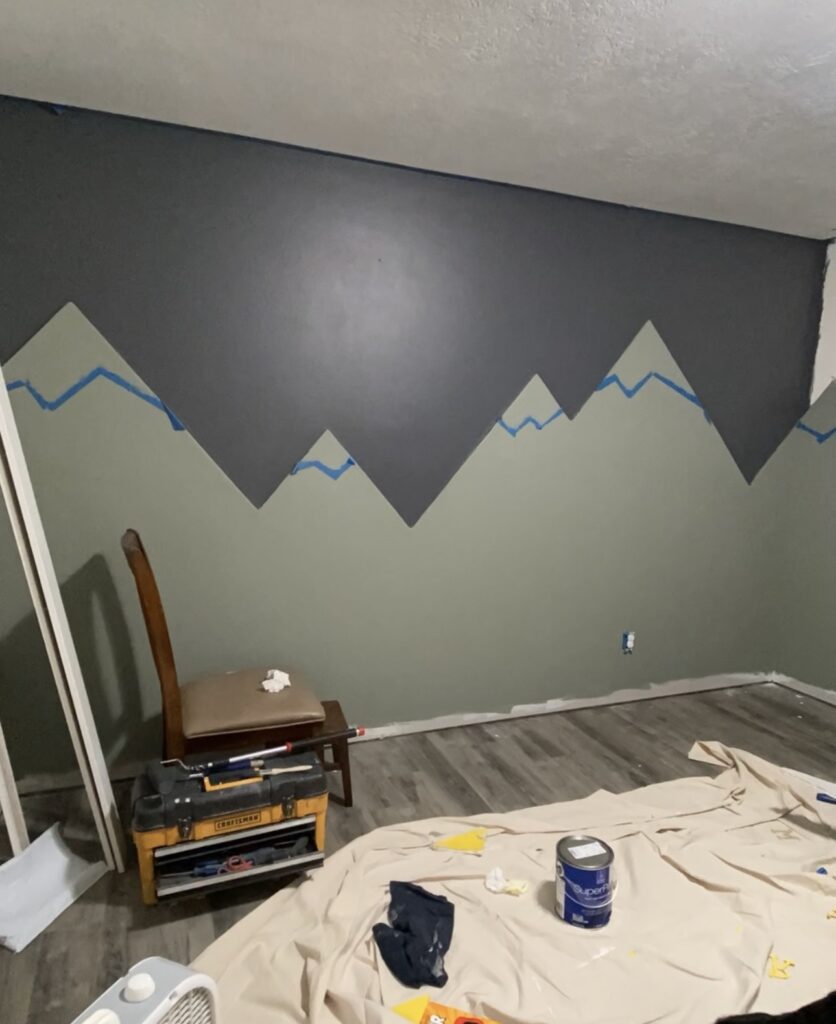
After the mountains were dry I painted the wall with the black.
2 Coats of Primer
2 Coats of Evergreen Fog
2 Coats of Peppercorn
paint base color to seal tape
2 coats of Nebulous White + a couple drops of black acrylic paint to make it not so bright
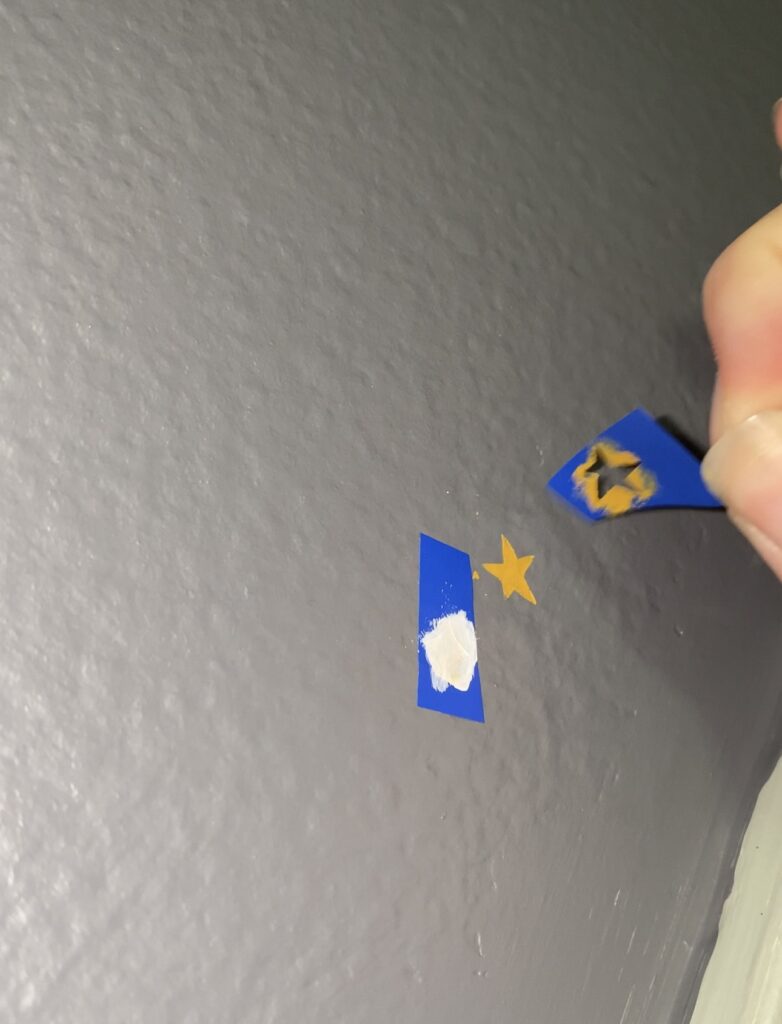
Step 8: stars!
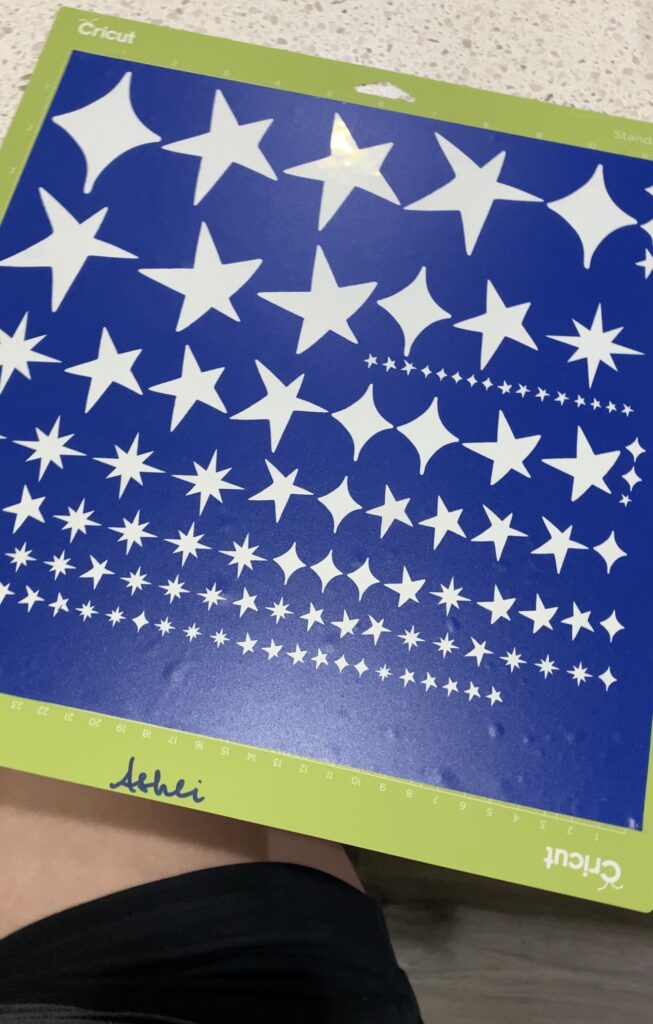
I spent quite a bit of time using the Cricut and cutting out lots of stars, it was simple but very time consuming!
After they were cut, I cut them into pieces one by one and placed them on the wall randomly. They weren’t too hard to remove and replace if I didn’t like the placement!
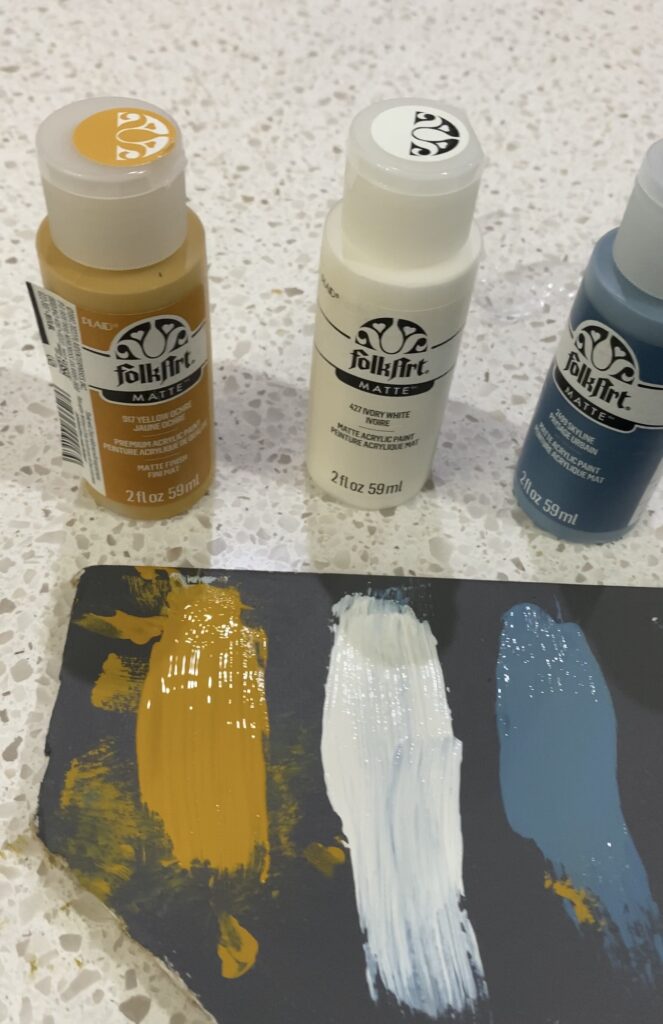
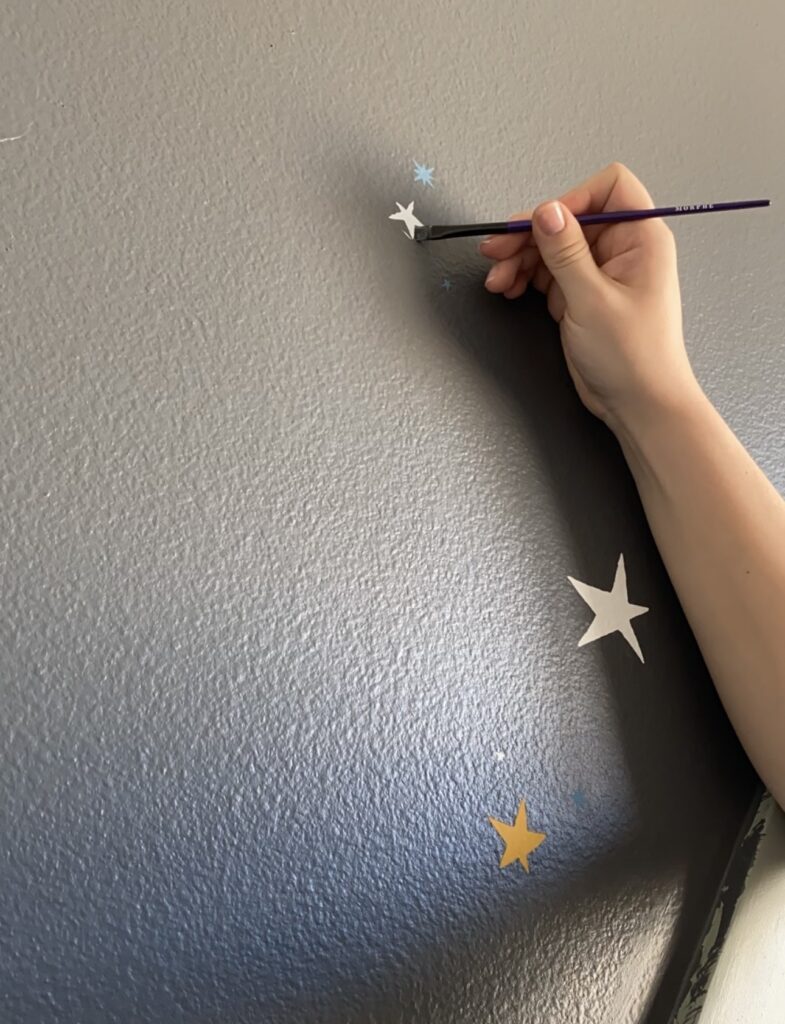
Then I chose some acrylic paint colors (pictured below) and painted the stars randomly with each color
After they were painted, I peeled off the stencil immediately before the paint was dry
Then I took a small paint brush and dipped it into the black to freshen up the edges
Cut out stars on Cricut
Cut out and placed randomly
Colors of paint for stars
Painted and peeled before letting it dry
Black paint to perfect edges
Stars are finished!!
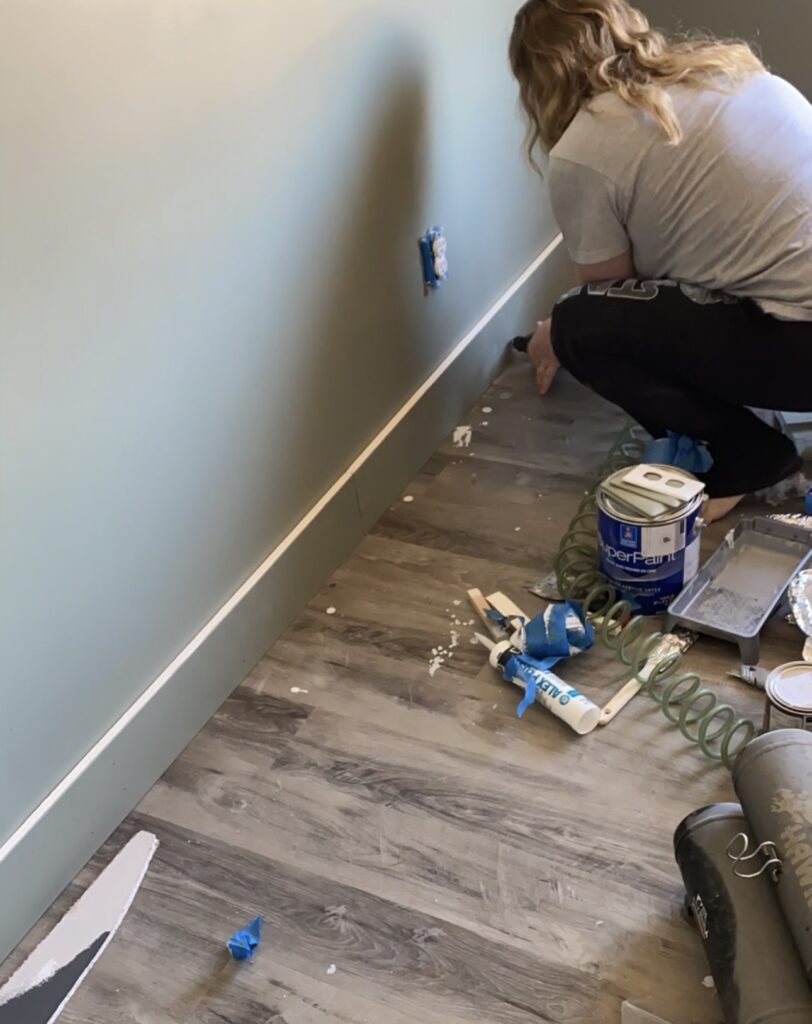
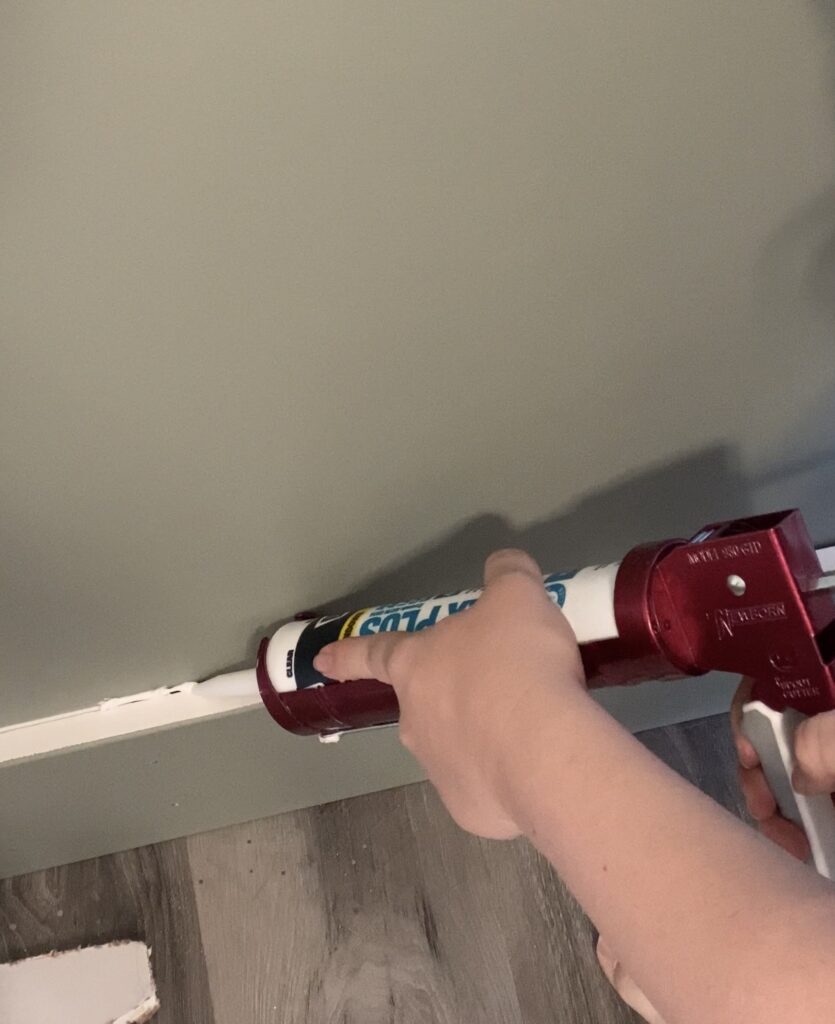
Reattach the baseboards
Caulk & Paint Baseboards
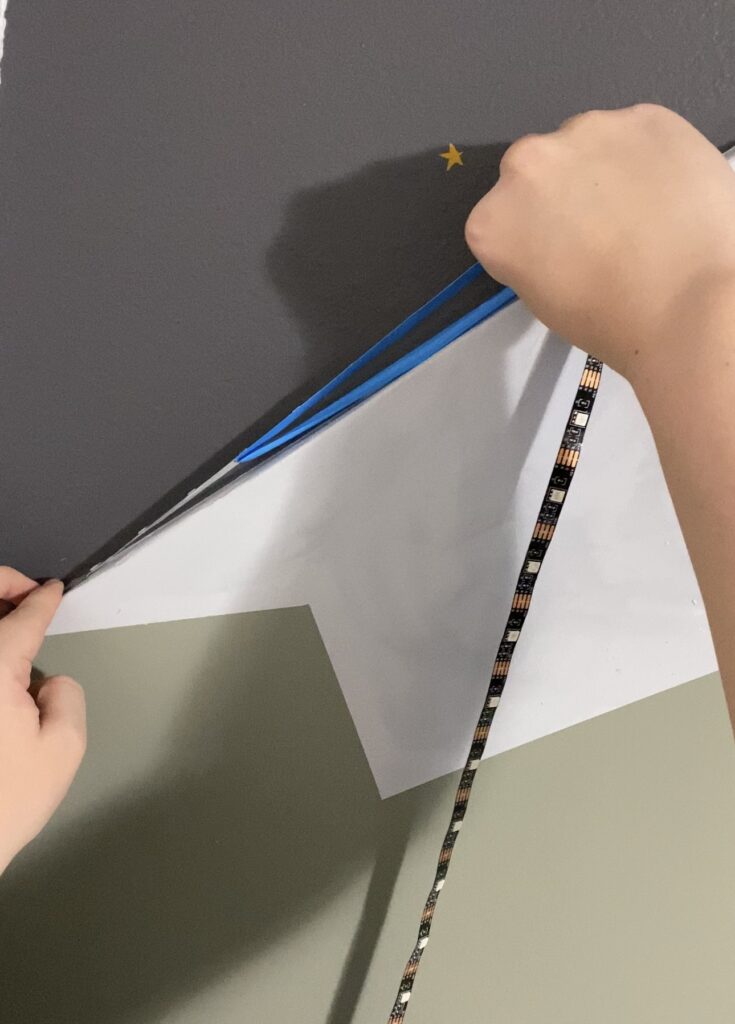
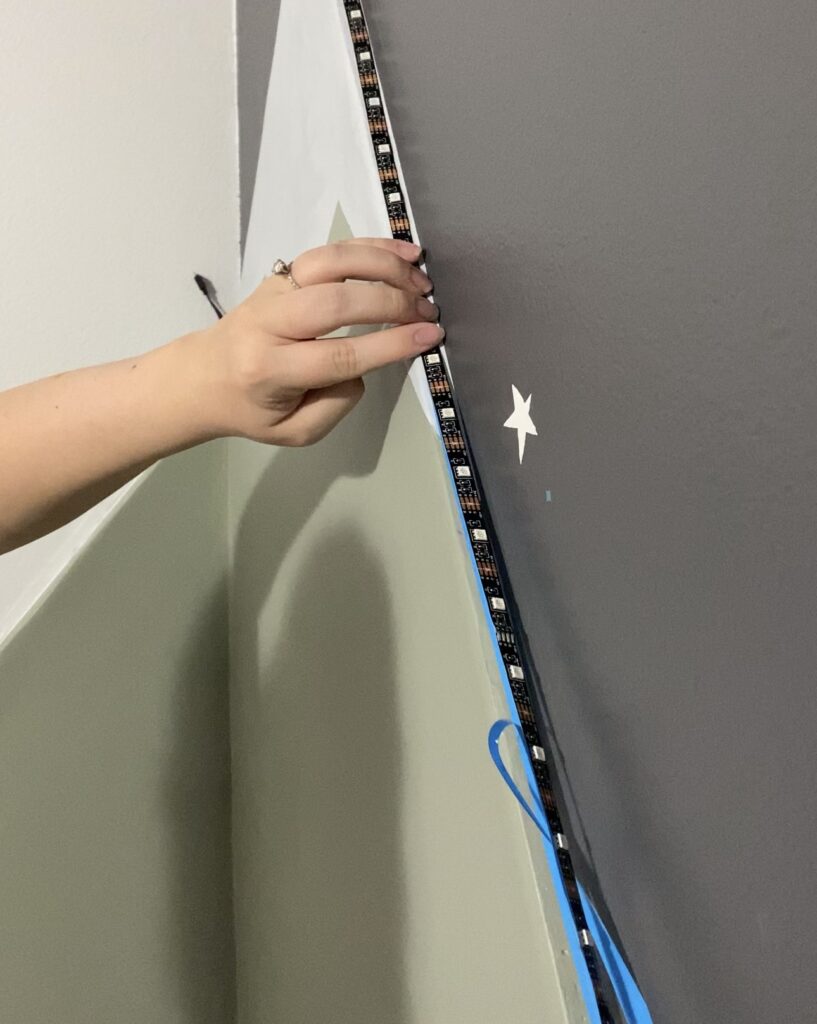
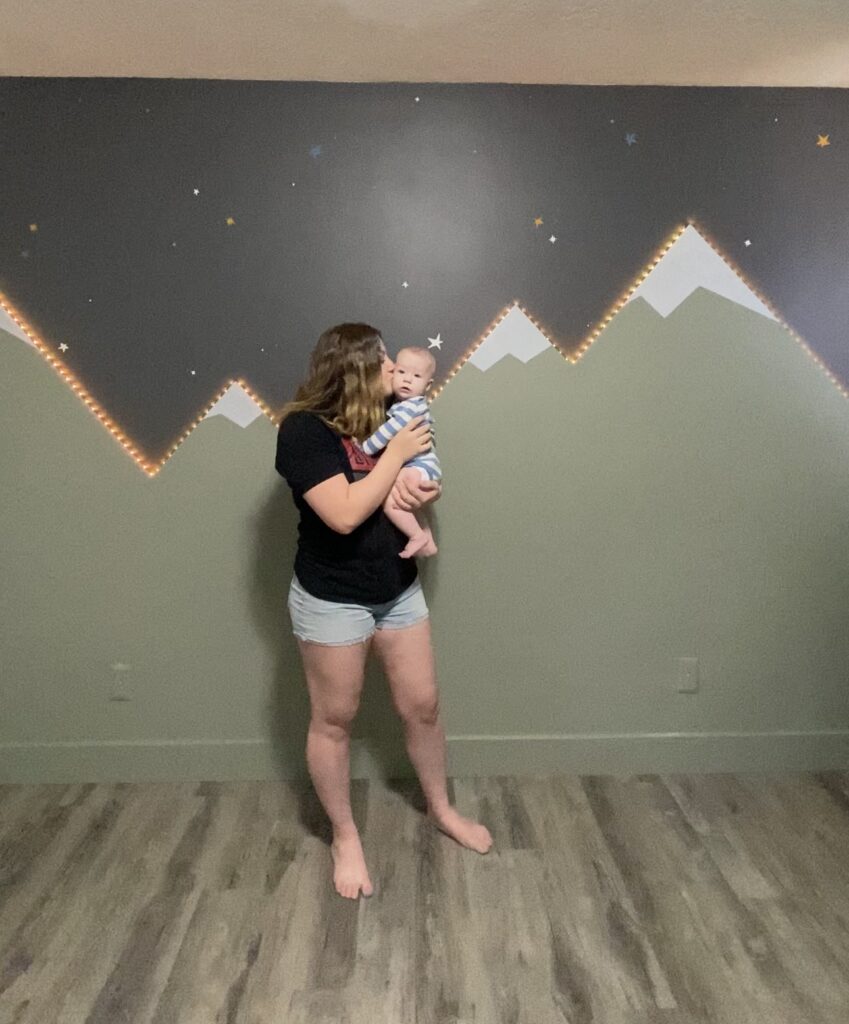
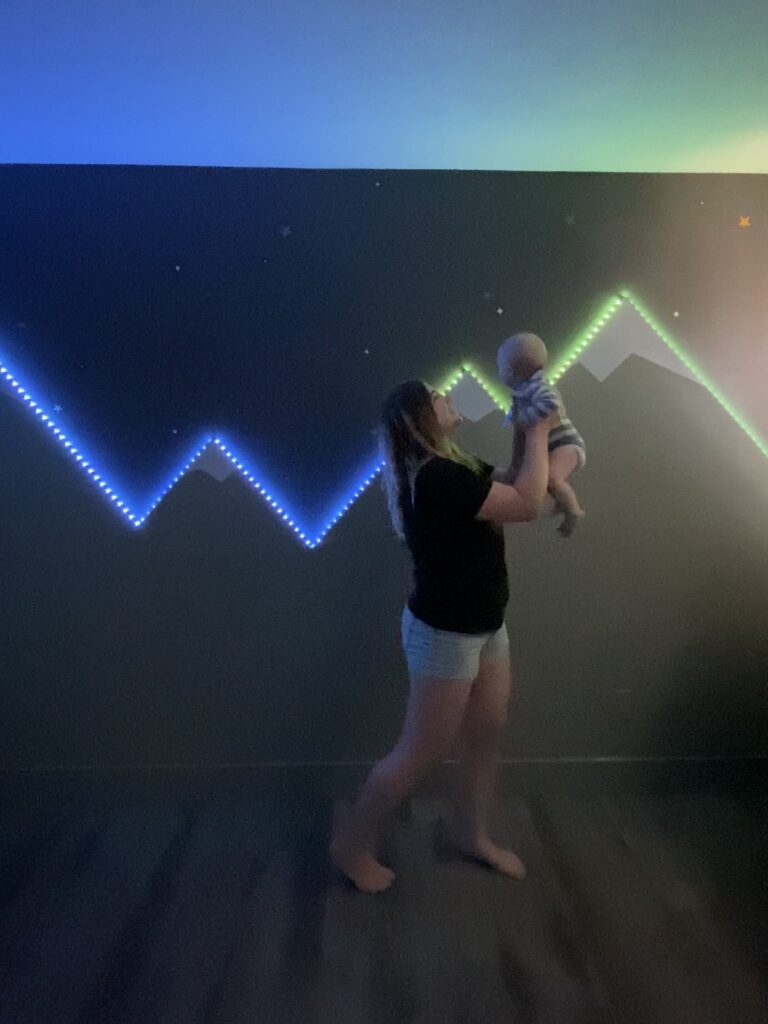
Step 9: LED Lights
This step is really easy! The length of my mountains is 20 feet so I just got 20 feet of LED light strips and attached it to the top of the mountains. The width of the drywall is perfect to fit the lights! I would link the ones I got but they already died, so I need to replace them. But I just searched for battery powered LED light strips on amazon and found exactly what I was looking for. I will edit this and link some good ones once I find them:)
Peel off backing to stick to wall
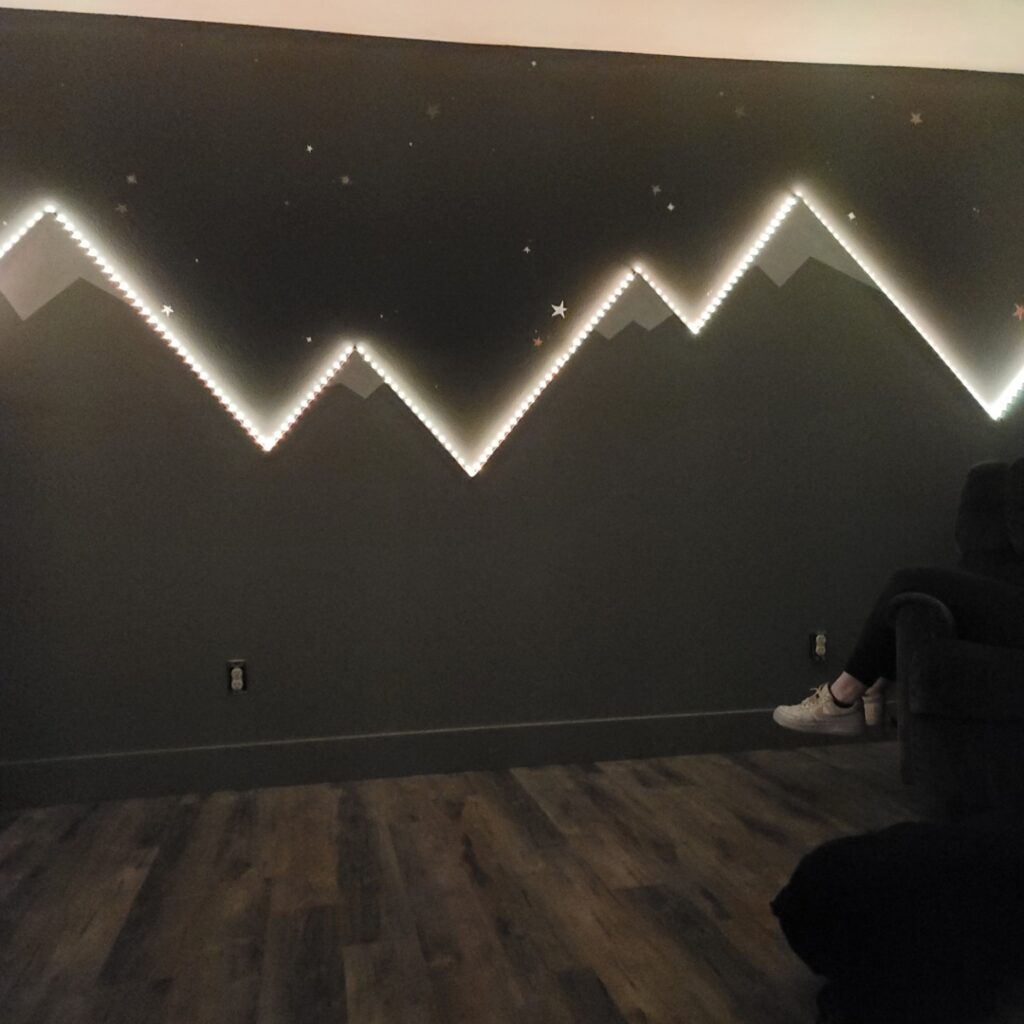
Install batteries and turn on the lights
accent wall is finished!!!!!!
Hopefully this made it easy to understand how to do something like this! The great thing about DIY is that there are 1,000,000 ways of doing something! I chose drywall but you could also use cement board, wood, paint alone, or anything else entirely!
If you would like a little more in depth help, I attached a link to a video that is the whole thing from start to finish at the bottom of this page. You can also go to @ashli.artistry on instagram and find the highlight called “Mavs Mountains” which will have the entire process from start to finish as well. Also, find me on TikTok @ashliartistry 🙂
Now that Mav is 2 years old, its nearly time to start the other side of his room! Plans: A rock wall shaped like a tree, rugs and pillows, garage style door for closet, moon shaped light, and eventually … a DIY toddler bed! I CANNOT WAIT TO SEE IT ALL COME TOGETHER!!
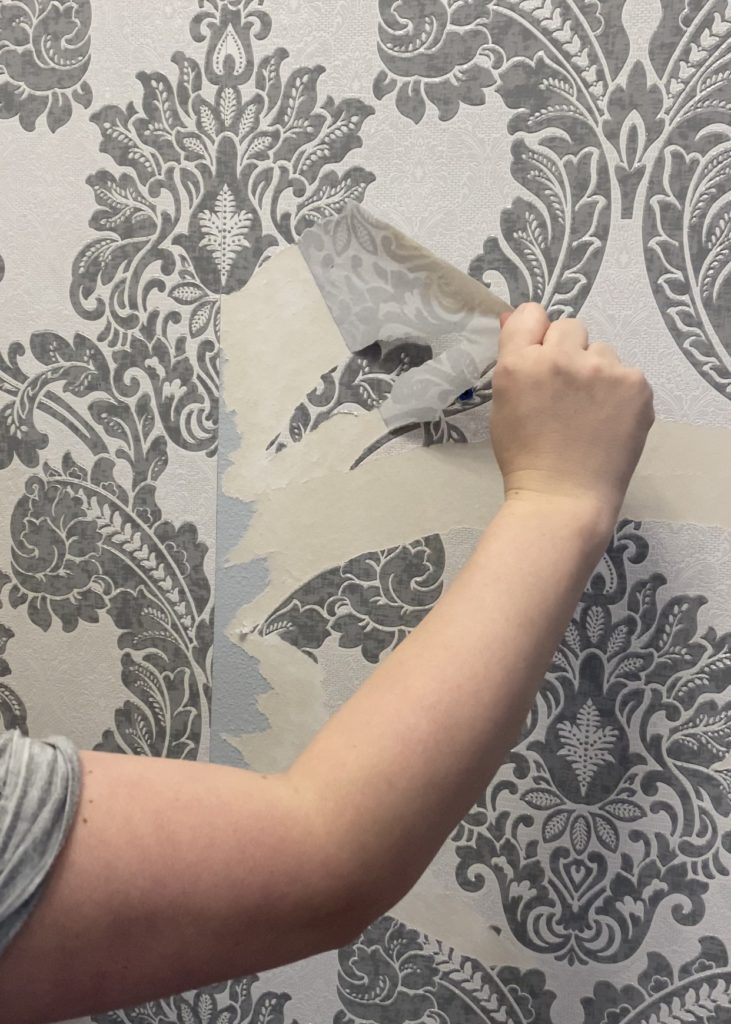
Wallpaper comes in two layers. The top layer is the decorative paper, and the bottom layer is the adhesive layer. In order to remove it, you need to get to the second, adhesive layer. Here’s how …………
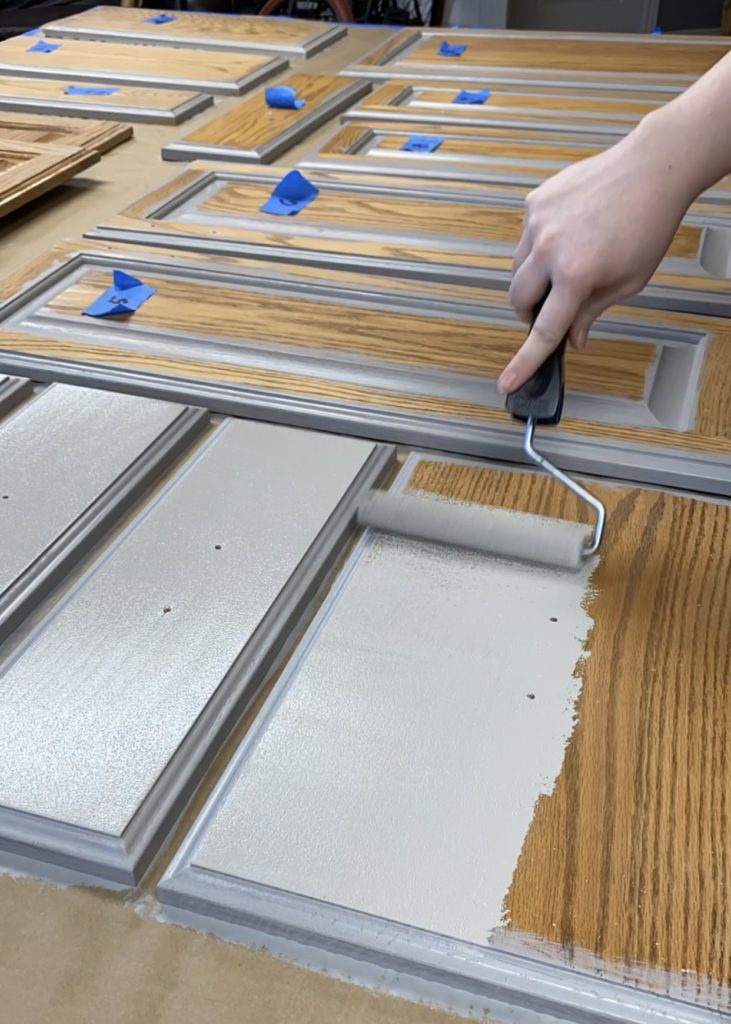
How to Paint Your Cabinets (The Easy Way)
How to paint your kitchen cabinets WITHOUT STRIPPING! Don’t worry – It still looks professional! Here are the step-by-step instructions on how to make your old cabinets looking fresh and new!
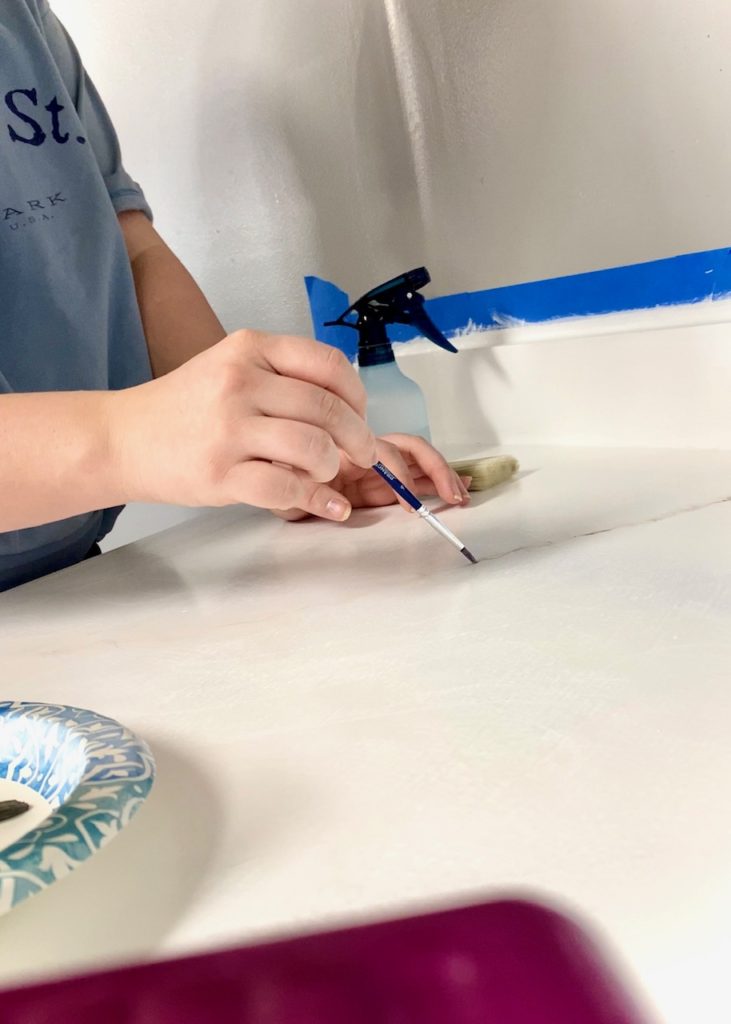
DIY Painted Countertops (Step-by-step)
So … I was in a bad mood one day and I was staring at how ugly the space i was living in was … (Ugly is a little dramatic, but in the moment, that’s all I could think) So …
Here are the step by step instructions on how I did it, and what I would have done differently …